
Adding Personalization with Merge Fields #
To personalise your email content:
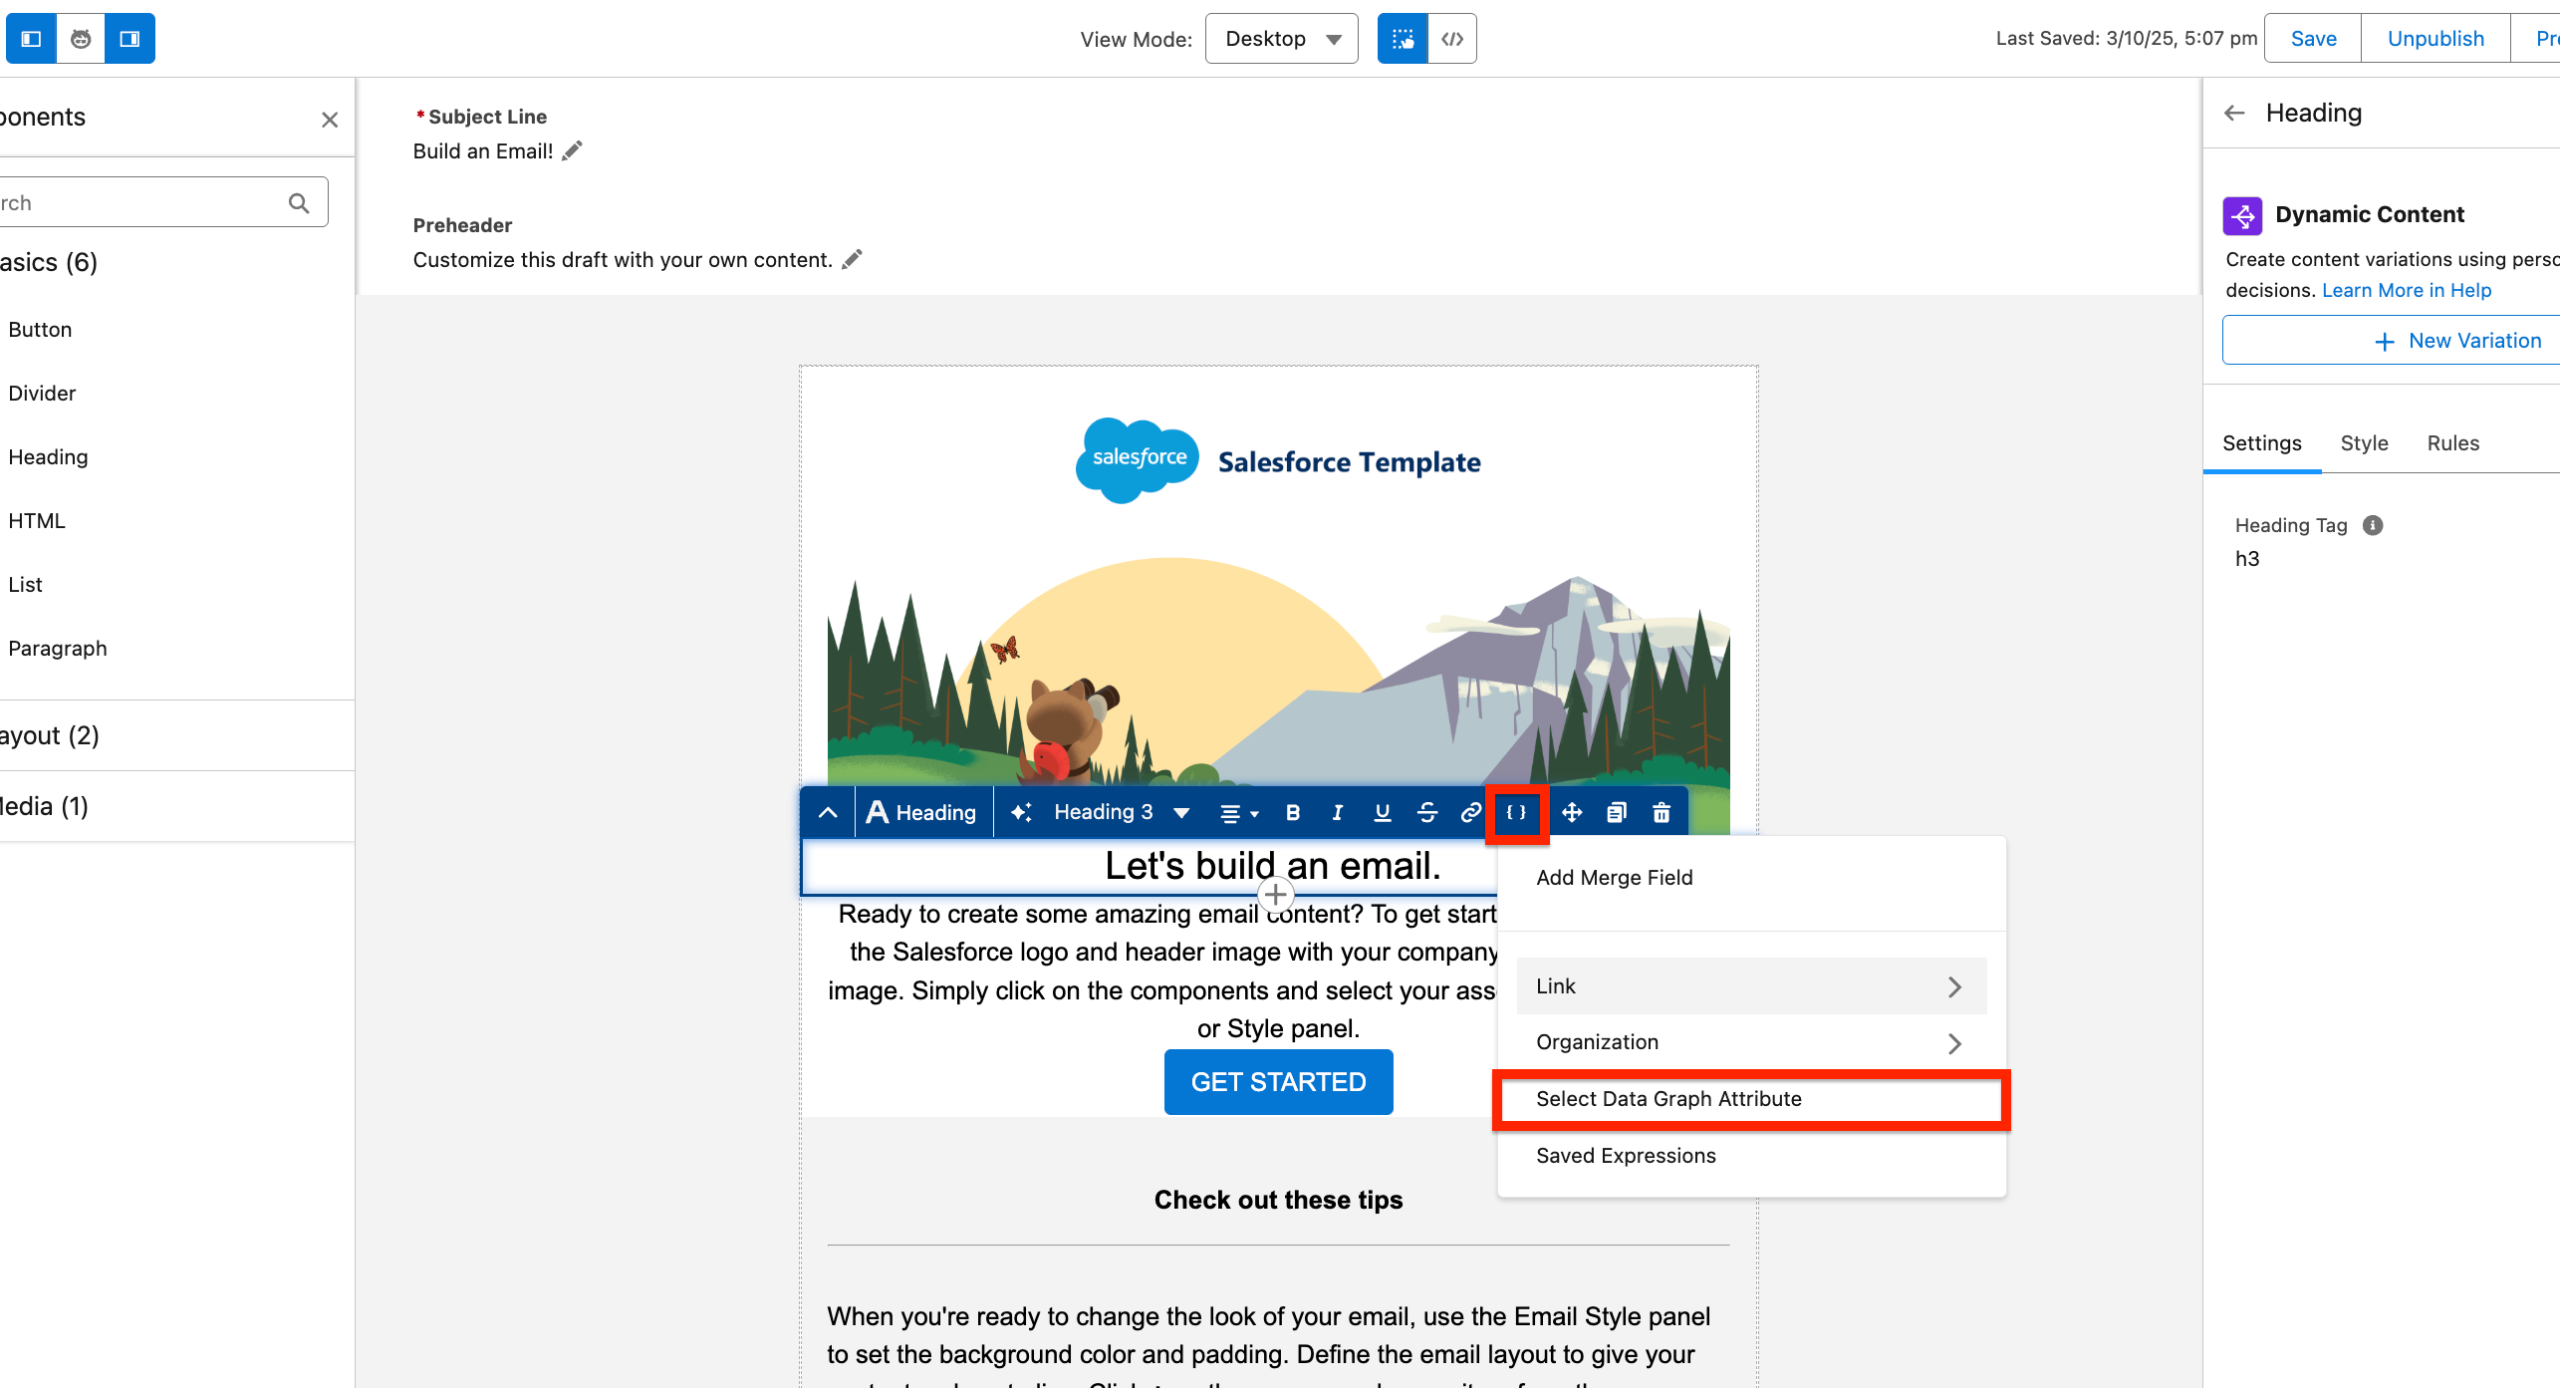
- Click on the Merge Field icon in the email editor
- Select ‘Select Data Graph Attribute’
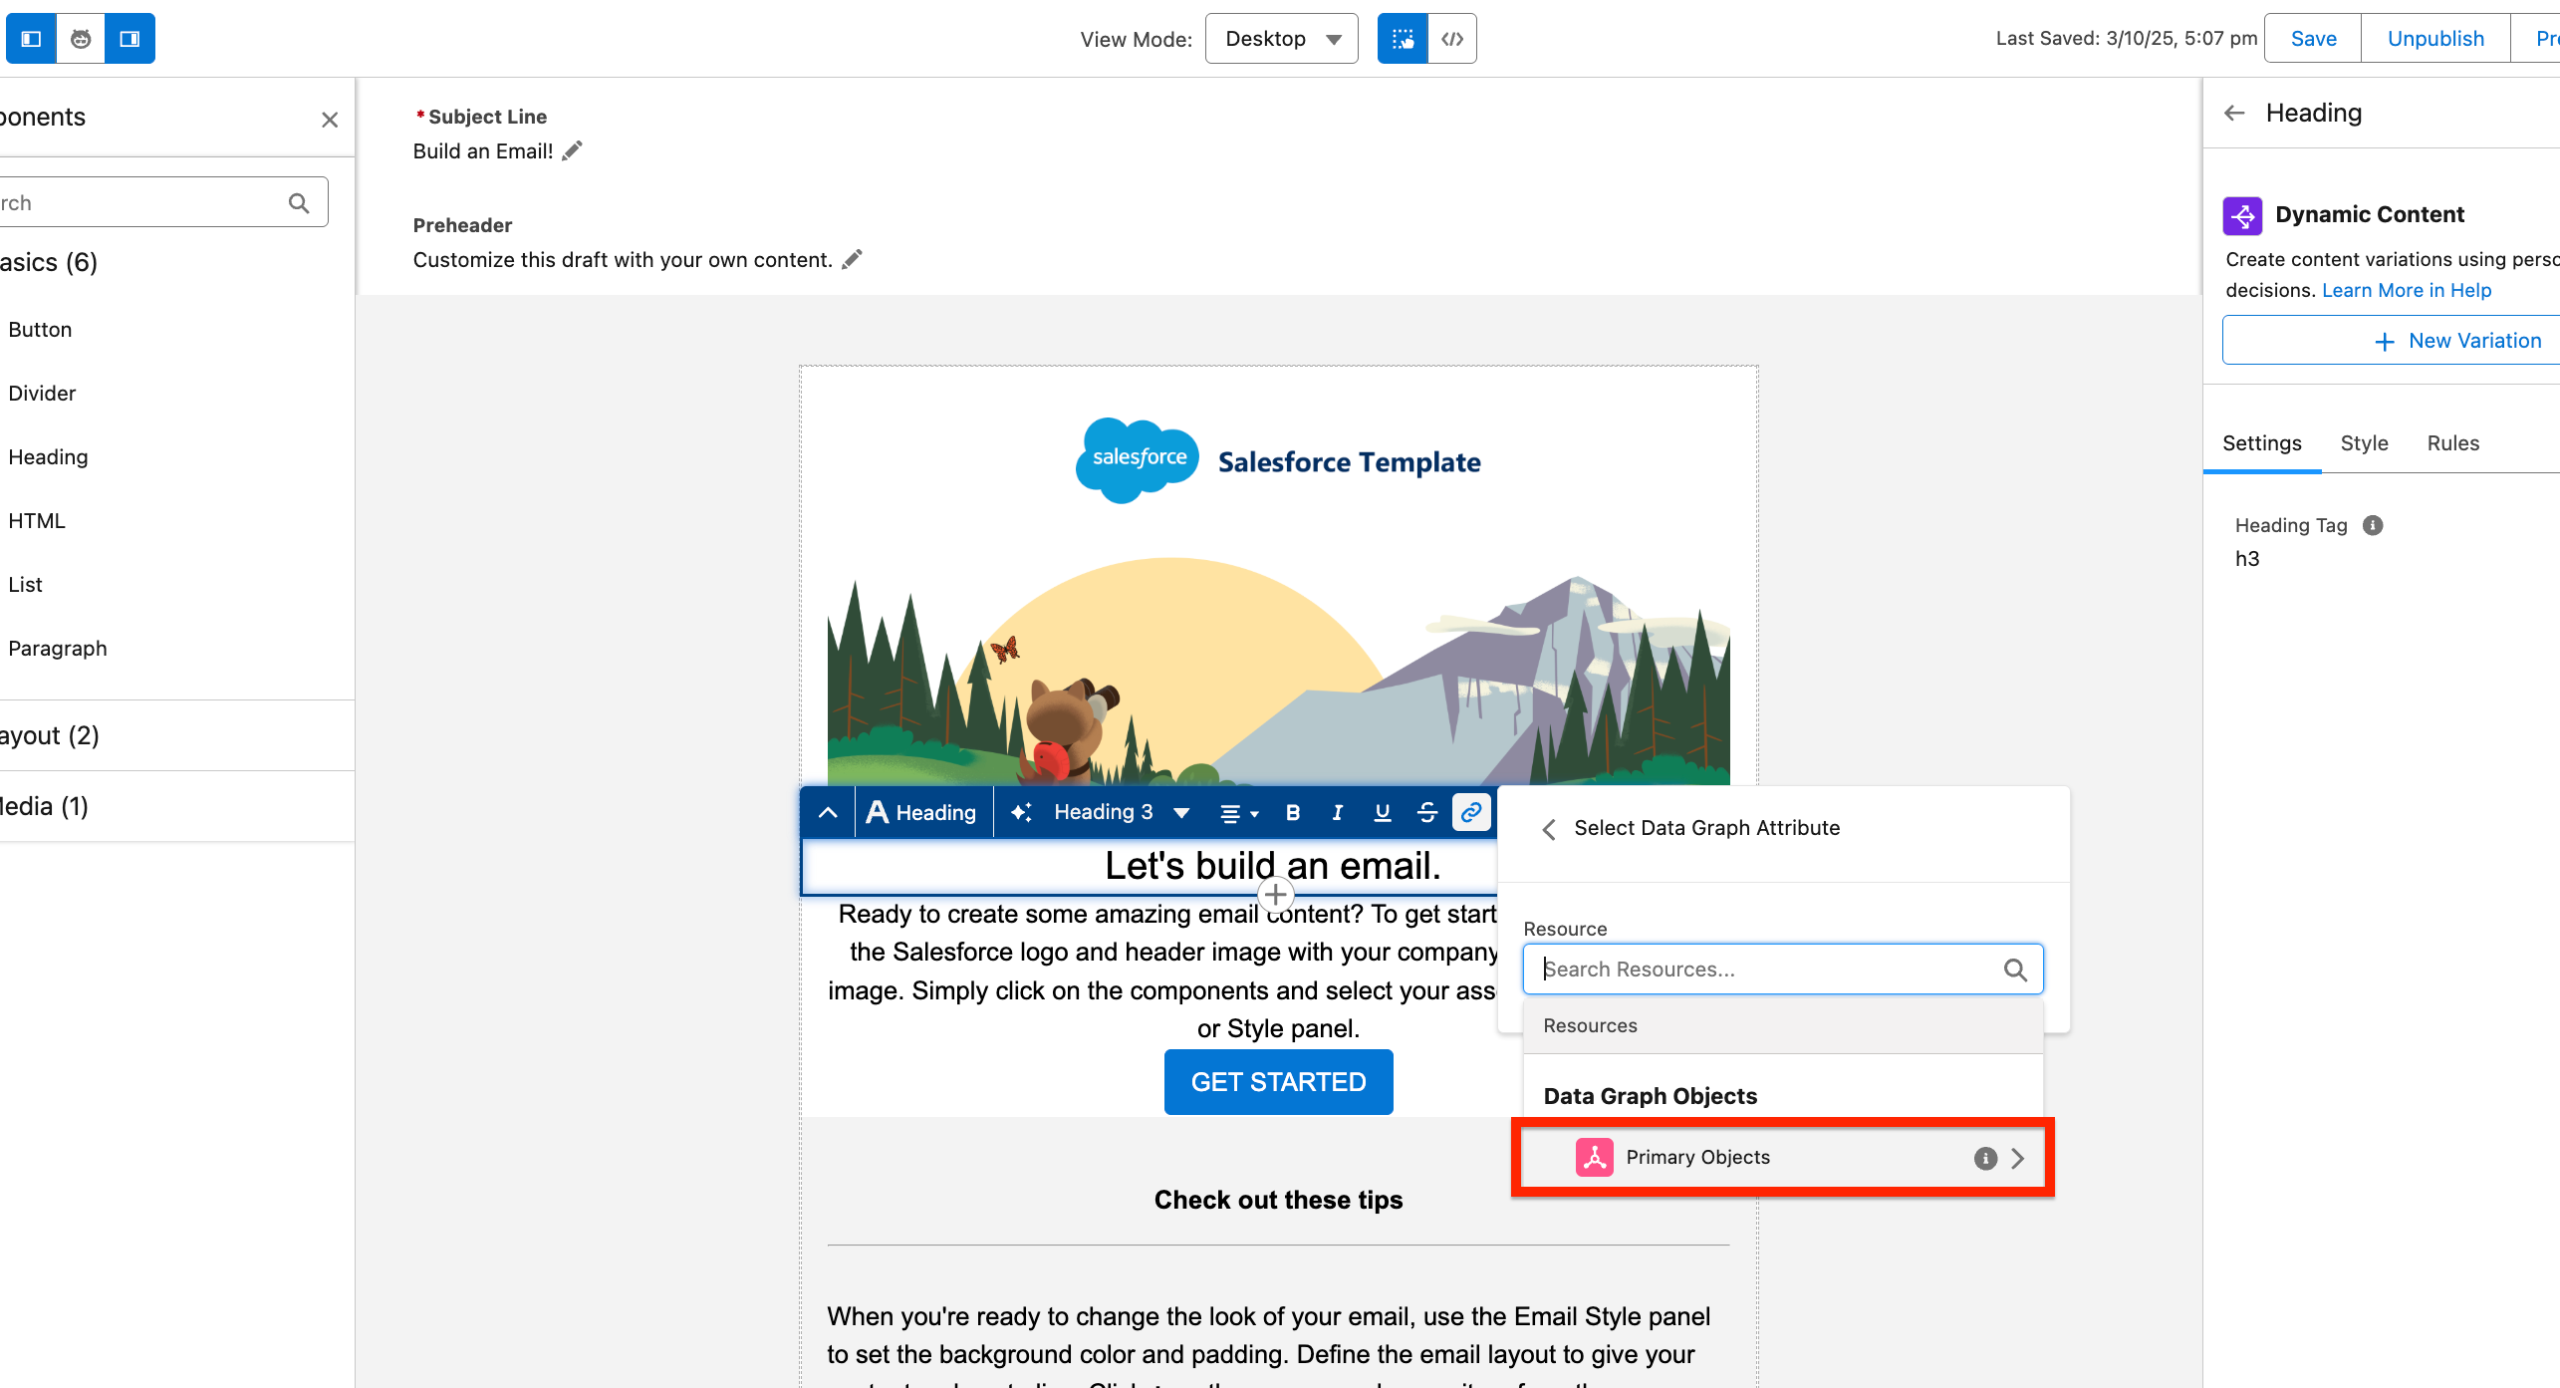
- Click ‘Primary Objects’
- Choose the attribute you want to insert (e.g., firstName, lastName, etc.)
To Personalise the email copywriting click on the Merge Field icon and ‘Select Data Graph Attribute’.
Then click ‘Primary Objects’ and you will be able to select Attribute such as firstName, lastName etc.
Testing Your Personalised Email #
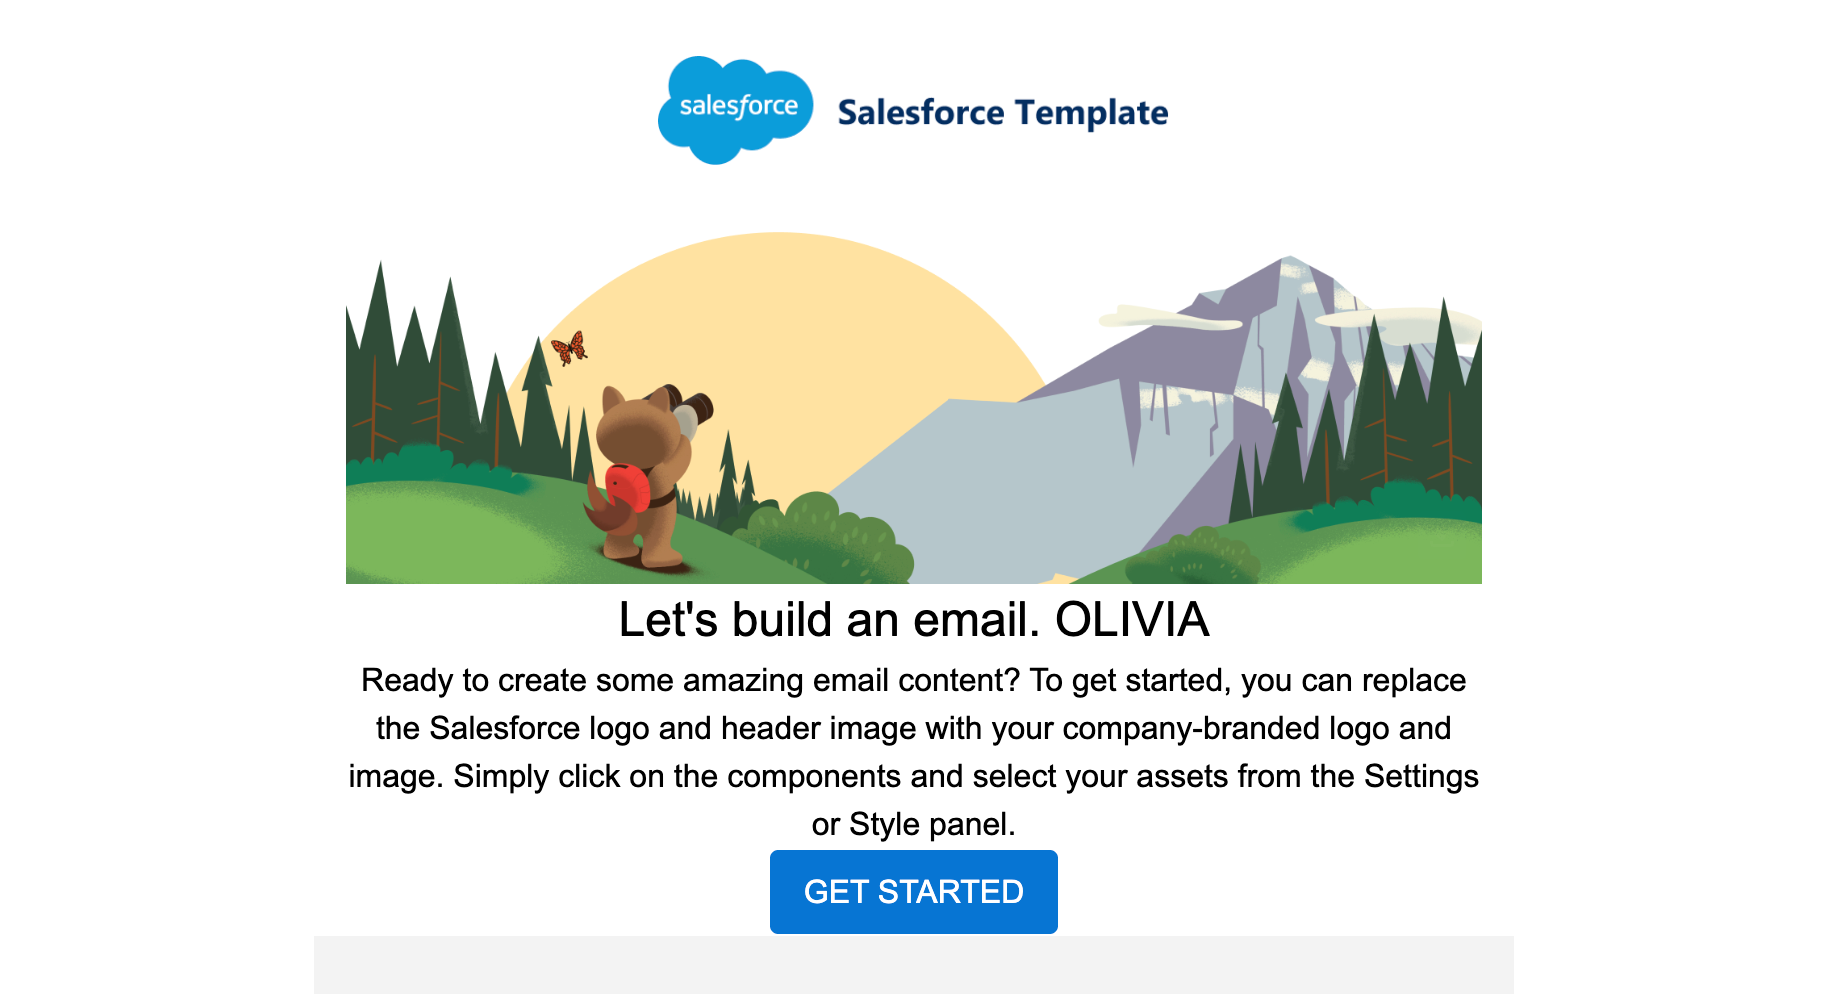
Example: Testing with Contact Olivia
After personalising the email and previewing it with Olivia’s information, you can send a test email to verify the personalization works correctly.
Sending Test Emails #
To send a test email:
- Preview your email with the selected contact’s data
- Enter your test recipient email address (e.g., [email protected])
- Click Send Test
- The test email should arrive within a few minutes
Important Note #
Best Practice: Ensure that the test recipient email address exists as an opted-in contact in Marketing Cloud Advanced. This helps ensure successful test email delivery and mimics real-world sending conditions.
Tip: If you’re not receiving test emails, verify that:
- Your email address is opted-in within the system
- The sender profile is properly authenticated
- Your email isn’t being filtered to spam/junk folders