Marketing Cloud Next comes with an handy feature, the possibility of creating Brands that can be used within all the Marketing Assets living in Salesforce. It is great for ensuring that your brand guidelines are respected when creating email templates, landing pages and more.. Also it a guarantee that your Marketing Assets have a consistent branding without efforts/having to re-update manually each assets.
How to configure a Brand #
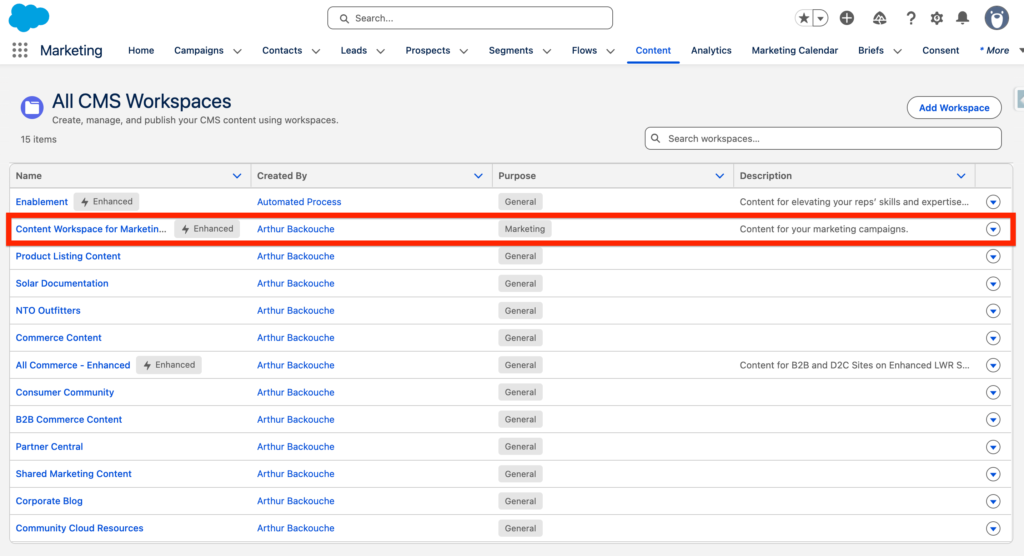
In the Marketing App, navigate to the Content Tab and select the CMS Workspace that you are using within Marketing Cloud Next. In my case, I’m using Content Workspace for Marketing Cloud.
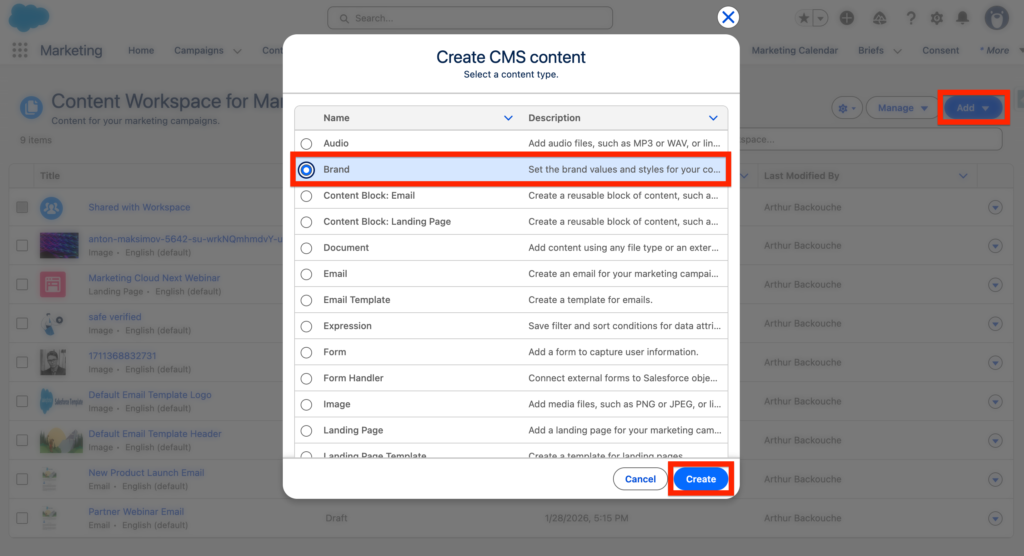
Next click Add, Select Brand and Save.
You will have the possibility to define the following details:
- Brand Details
- Colors
- Typography
- Buttons
- Margin and Padding
- Borders
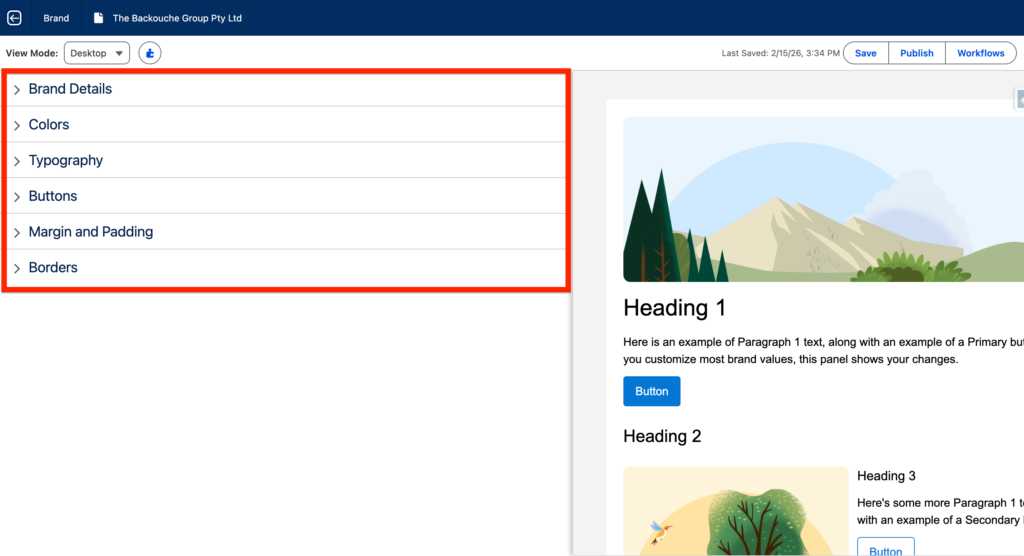
After making updating the details on the left brand panel you will have the possibility to preview what it will look like within an email template/landing page on the right panel – it is very handy to be able to visualise directly the brand guidelines.

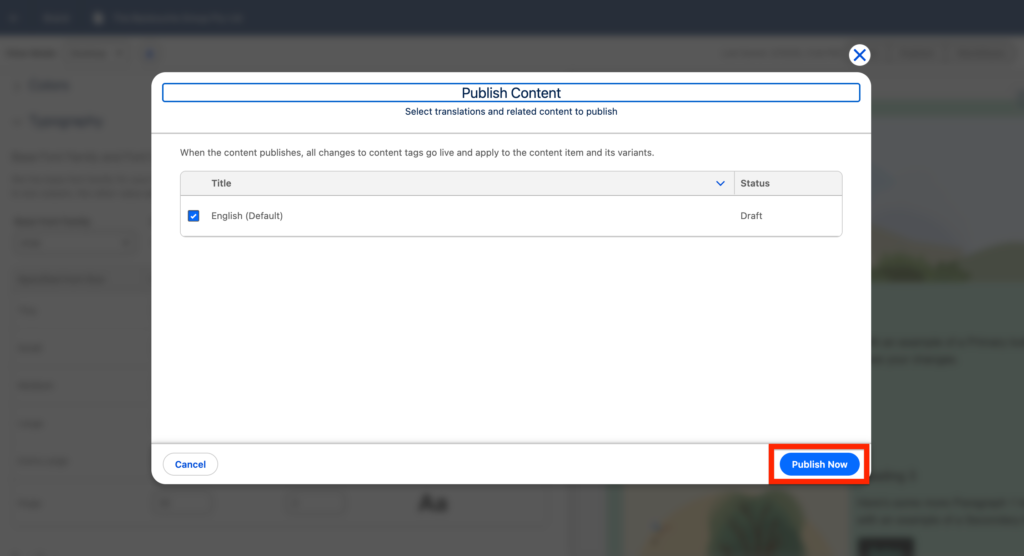
Once you are satisfied with your updated brand details, click publish.
How to use the Brand in an Email #
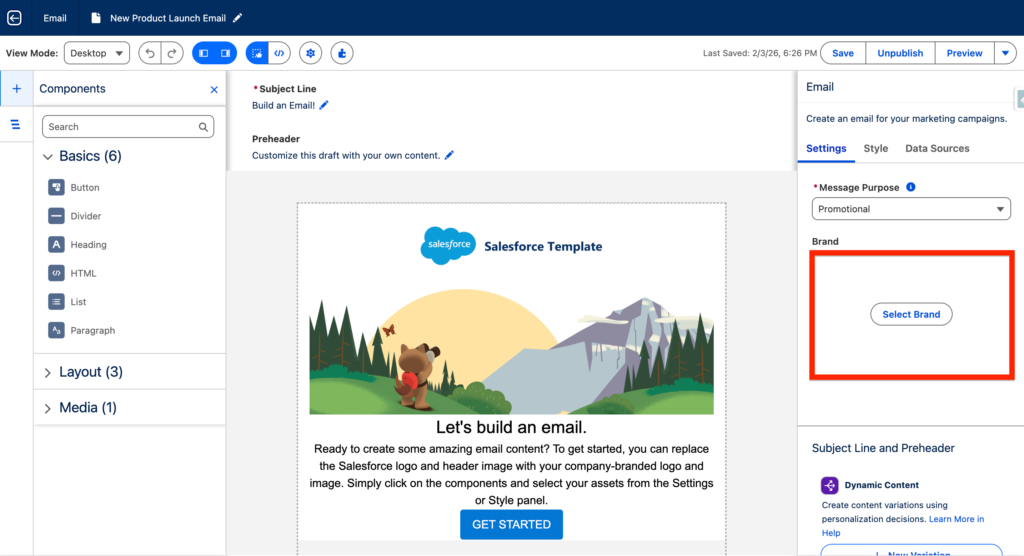
Now let’s navigate into a brand new email in Marketing Next. As you can see on the right panel there is a button Select Brand. Click on it and select the Brand.
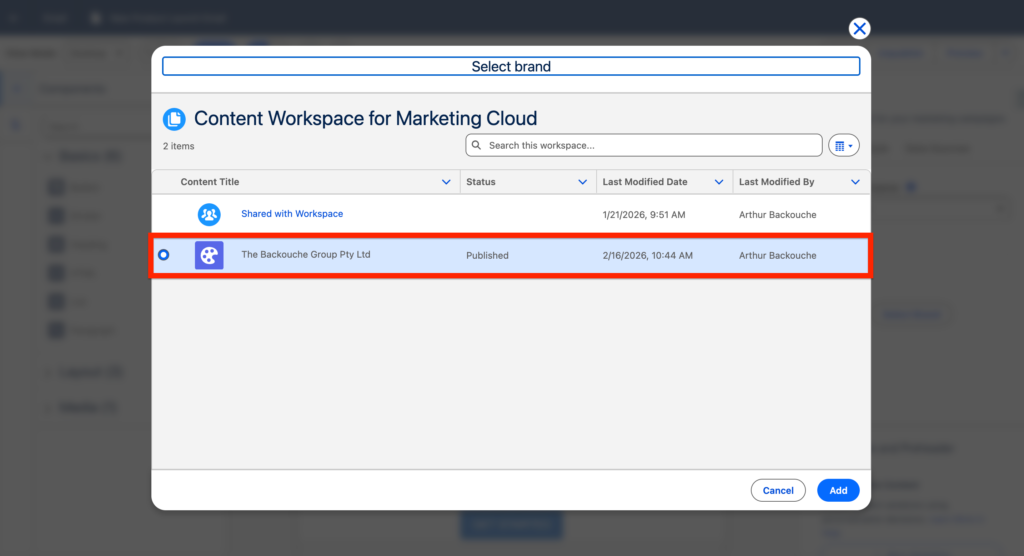
A pop-up window is now opening giving you a view on the CMS folder Select the Brand that we have created together initially and click Add.
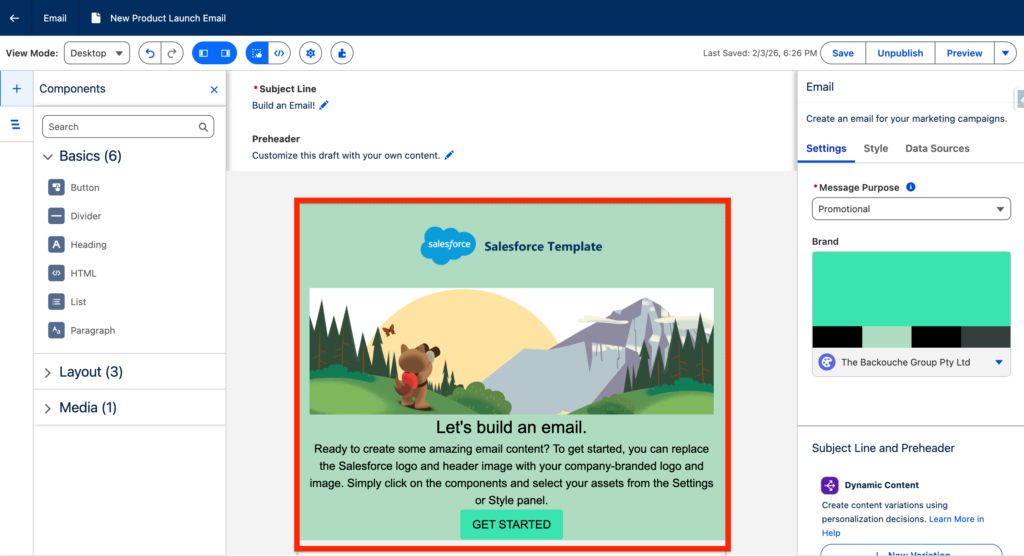
As you can see the Email has been automatically updated with the Brand details specified earlier within the Brand.
Ressources: https://help.salesforce.com/s/articleView?id=mktg.mktg_content_brand.htm&type=5


