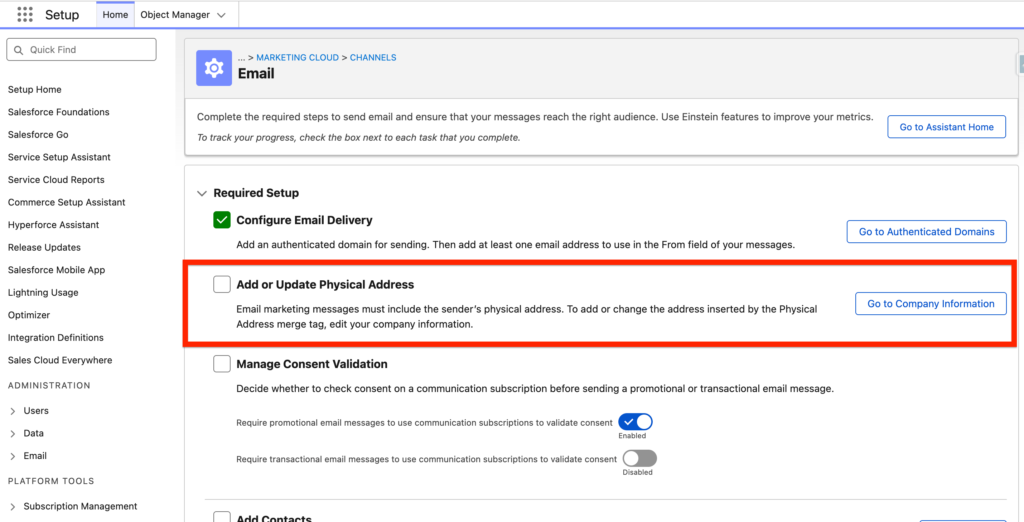
Add or Update Physical Address #
Navigate into Salesforce Set-up, Assistant Home then Set-up Email and within the ‘Add or Update Physical Address’ section click on on ‘Go to Company Information’.
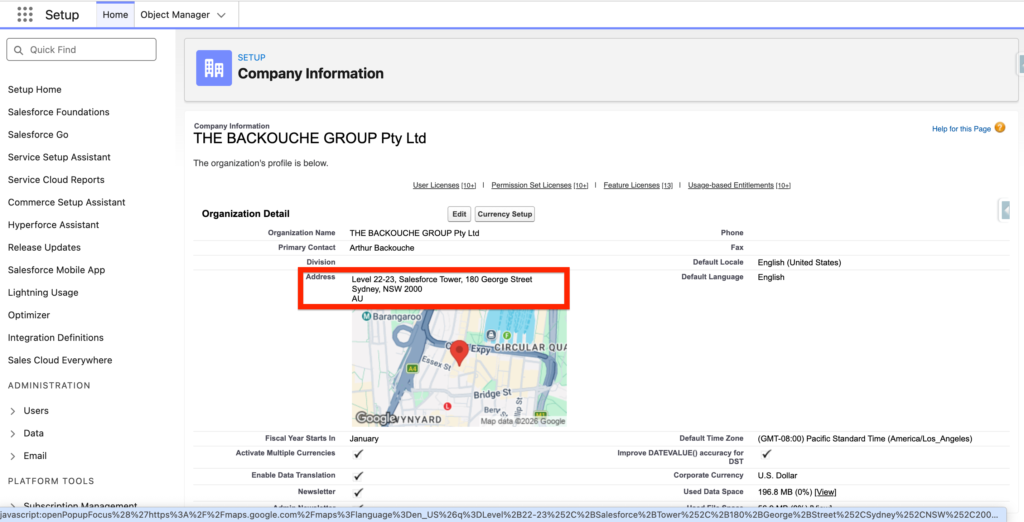
Within company information, click ‘Edit’ and enter your organisation address. The Address will be displayed in the footer of your emails.
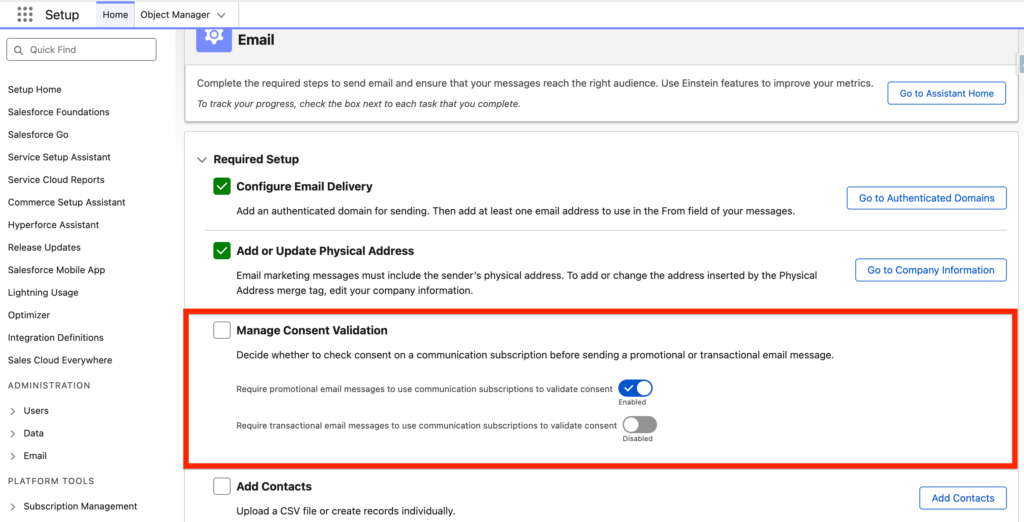
Manage Consent Validation #
In Email Marketing it is common that we have 2 types of email communications sent to customers. The Commercial Emails that are promotional, they promote your products or services – and the Transactional Emails that are indicating key information to your customers about the products and services that they are using without the objective to sell more. Promotional Emails requires a consent from the Customer i.e. the customer need to agree to receive this type of communications from your organisation (also called the opt-in process) however transactional emails doesn’t not require consent from your customers.
In Marketing Cloud Next, you will have the possibility to define if customers should opt-in for receiving Promotional Emails and also Commercial Emails. In our case we will just keep the recommend set-up (By Default options).
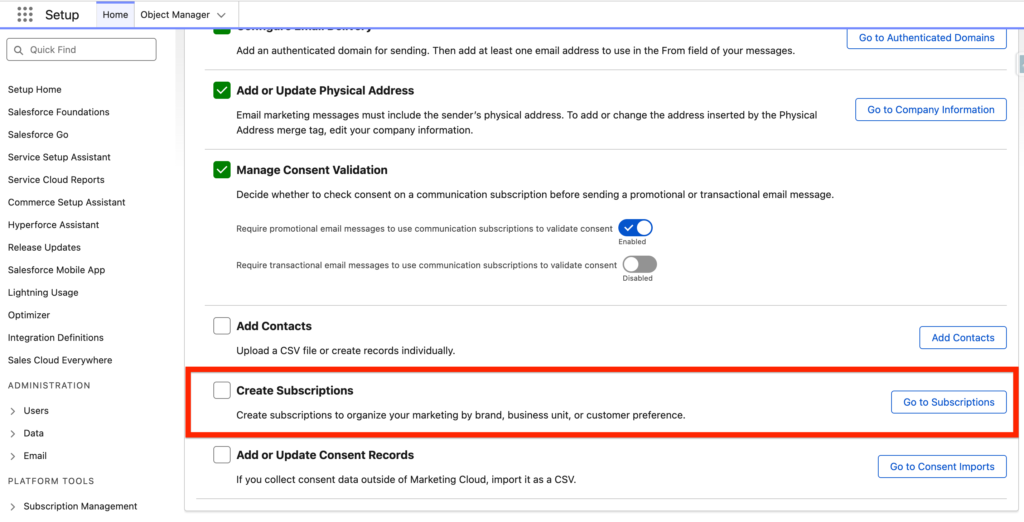
Create Subscriptions #
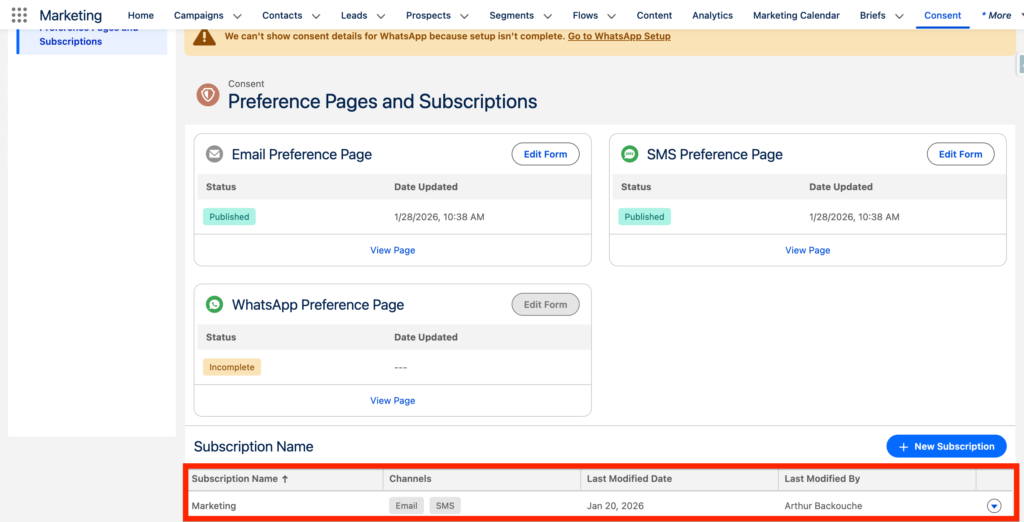
In Marketing Cloud Next you will have the possibility to create subscriptions to organise your marketing by brand, business unit, or customer preference. It can be useful if your organisation have multiples verticals/segments – in order to personalise the customer experience i.e. a Real Estate Website could have multiple Subscriptions such as ‘Residential Leasing, Residential Buying, Commercial Leasing, Commercial Buying’. By having these Subscriptions available the customer can pick and receive emails that are related to his interest only. Click on ‘Go to Subscriptions’ within the Create Subscriptions section.
As you can see at the bottom of the page you will have an existing subscription named ‘Marketing’ – this is the default one. I would recommend organisations with small Marketing Teams to stick with a single subscriptions.
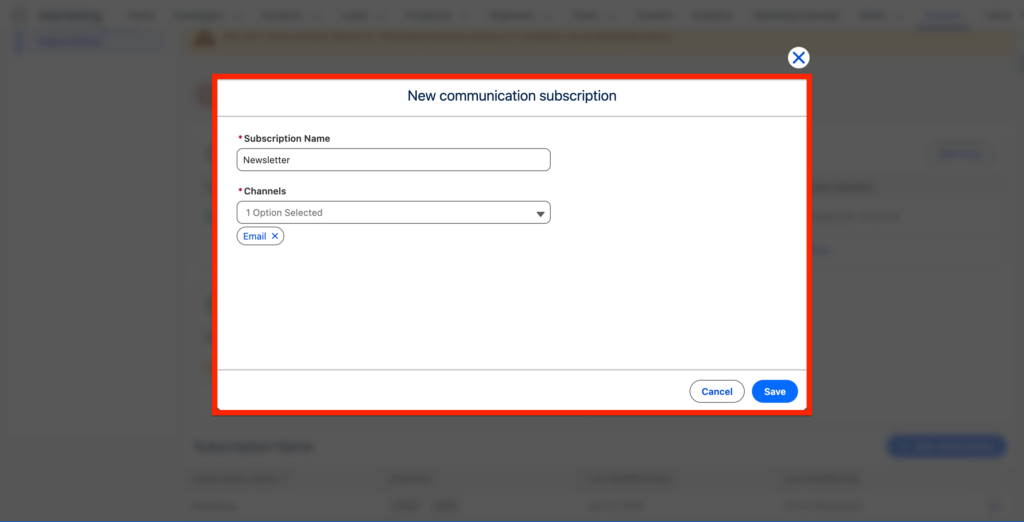
If I would like to create a new Subscription I can do so by click ‘+ New Subscription’ and giving it a Name such as Newsletter and a Channel associated such as ‘Email’, then click Save.
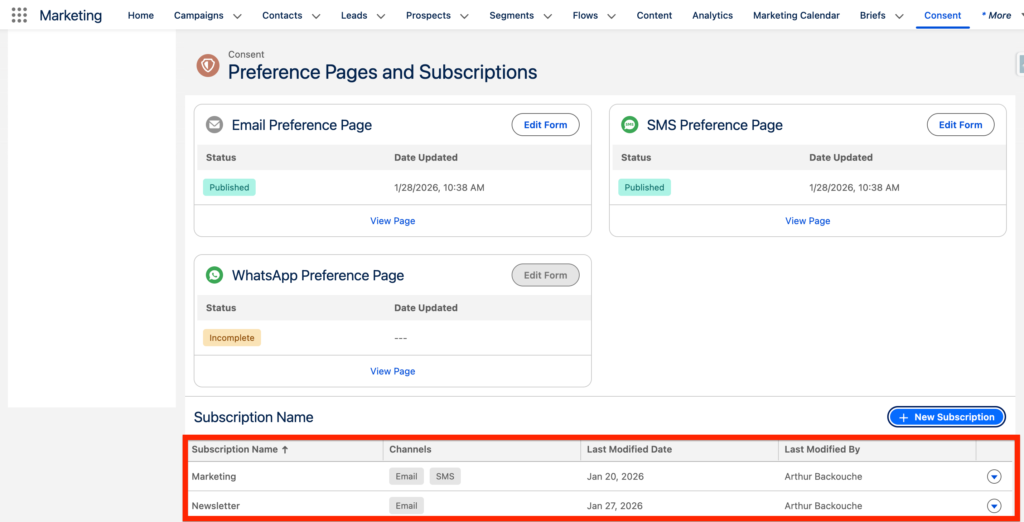
As a result you can now see that I have 2 subscriptions available for my customers: Marketing which is the generic/default one and Newsletter which is the one we just created together.
Add or Update Consent Records #
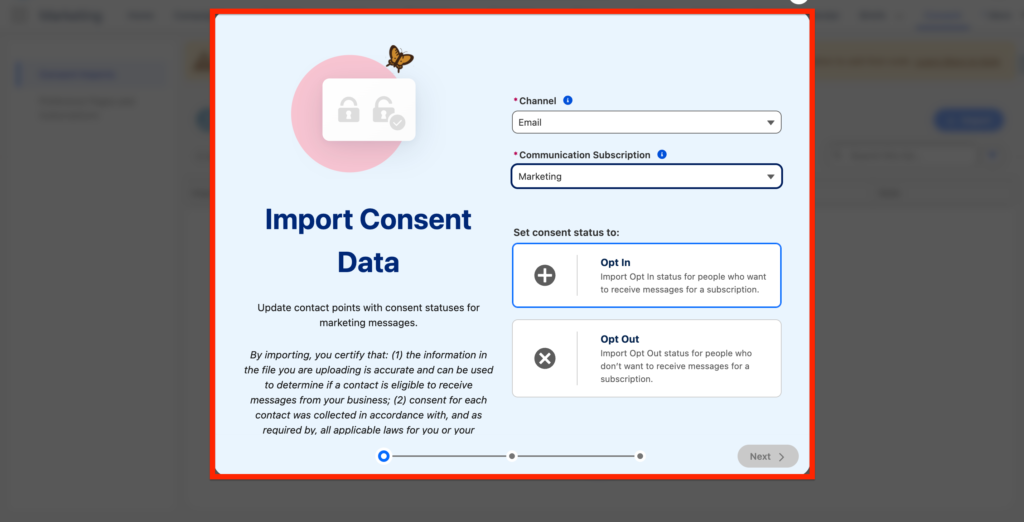
You have the possibility the ‘overwrite’ the Consent status of the Individuals existing in the system by uploading a csv file. Marketing Cloud Next initially set-up all the individuals as ‘Opted out’ so it can be interesting to upload a csv file to opt-in the Consent import. Click ‘Go to Consent Imports’ within the ‘Add or Update Consent Records’ section.

From there, you will have the possibility to select a channel such as Email, and a Subscription such as Marketing (The Default Email Subscription) and then you will be asked to upload a csv file that contains the email address of your individuals – After that they will be opted-in to this channel automatically.
Ressources:
https://help.salesforce.com/s/articleView?id=mktg.mktg_admin_setup_overview.htm&type=5
https://help.salesforce.com/s/articleView?id=mktg.mktg_admin_setup_consent.htm&type=5
https://help.salesforce.com/s/articleView?id=mktg.mc_es_update_physical_address.htm&type=5
https://help.salesforce.com/s/articleView?id=mktg.mktg_admin_setup_consent.htm&type=5


