In this article I will explain how you can enable Data 360 (Data Cloud), ingest Data from Salesforce CRM and create an Identity resolution – a feature allowing you to retrieve individuals across your different data sources that belong to one same person.
Setting up the Permission Set #
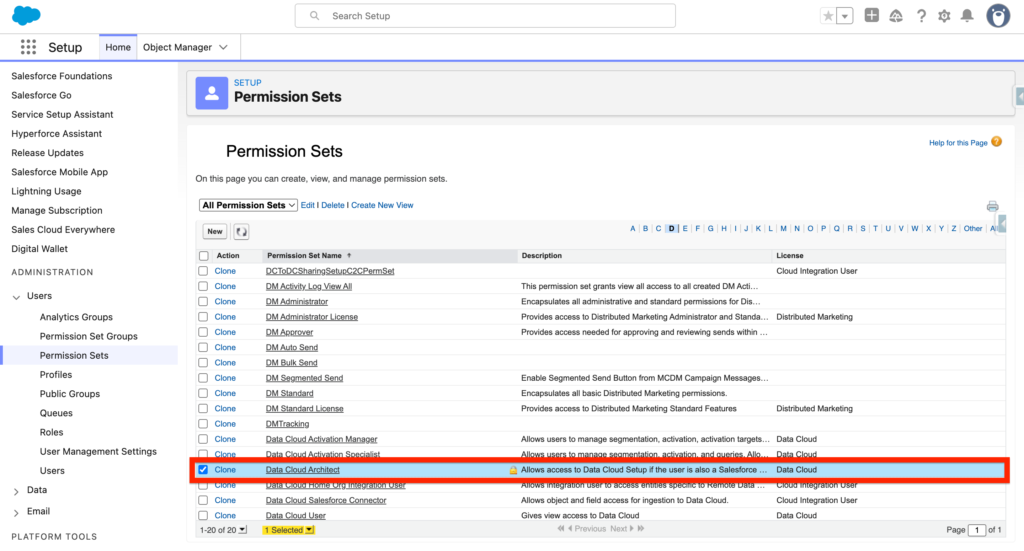
The very first step is to enable the permission set to access the Data 360 Set-up environment. As I will be the user doing the configuration, I will provide myself with the Data Cloud Architect permission set.
Navigate in Salesforce Set-up and click Permission Sets. Within Permission Sets select Data Cloud Architect and then click manage assignments.
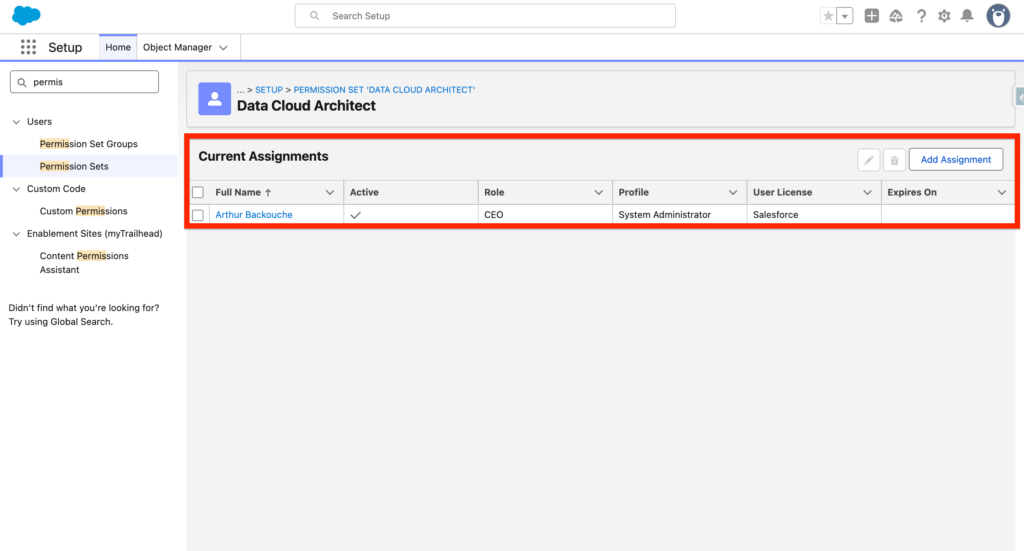
Once you selected the users that will receive the Data Cloud Permission Set click Assign and Validate.

In this case I have provided the Data Cloud Architect Licenses to myself:
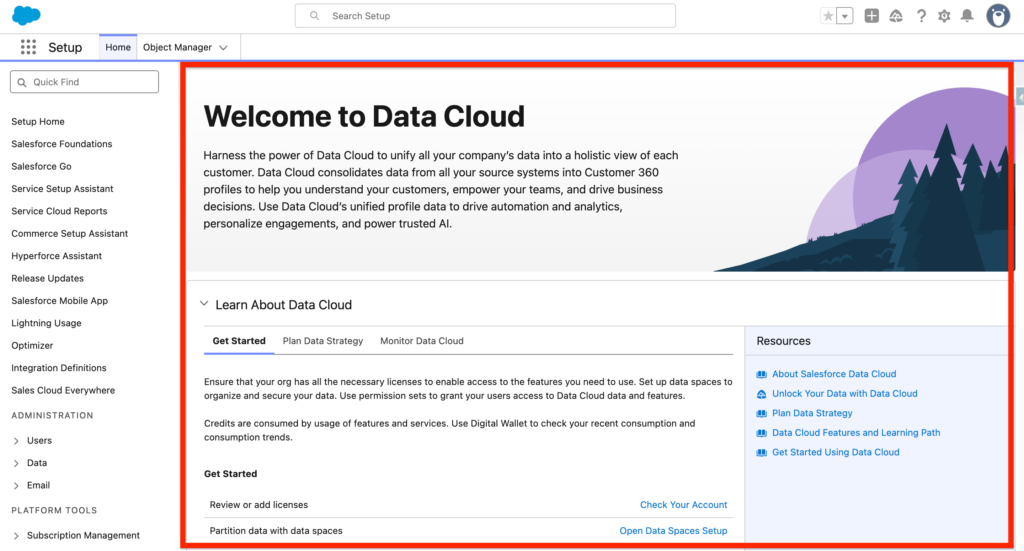
Getting Access to the Data Cloud Set-up #
Now refresh your browser, and by click on the the gear you should see the Data Cloud Set-up.

From there you should be able to access the Data Cloud Set-up Home page that will guide you throughout the process of setting up Data 360.
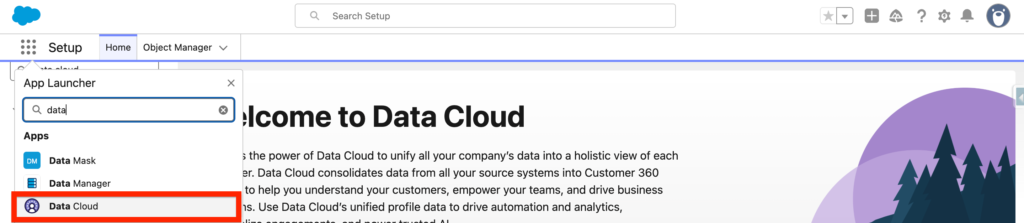
Ingesting Data from CRM #
In most of the scenario, you will want to start your Data 360 journey by ingesting Data From the Salesforce CRM (Agentforce Sales). In order to do so, navigate to the Data 360 App and click on the Data Stream App.
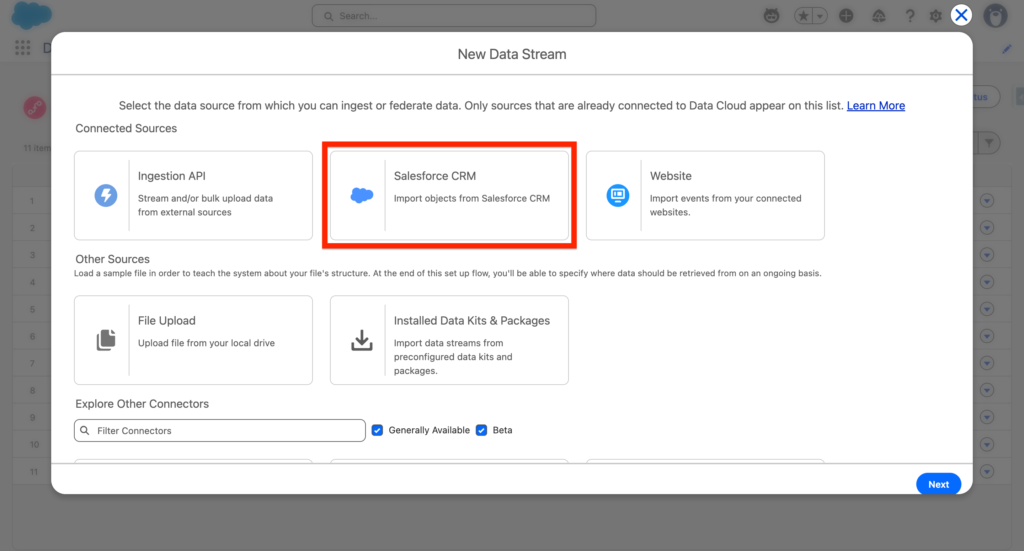
Within the Data Streams tab of Data 360 (Data Cloud), click new and select Salesforce CRM as a New Data Stream.
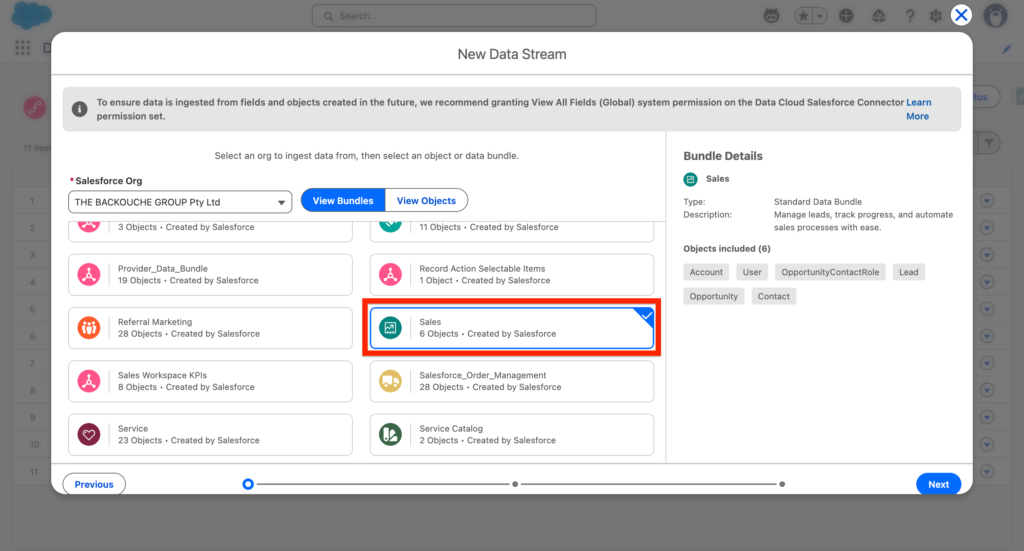
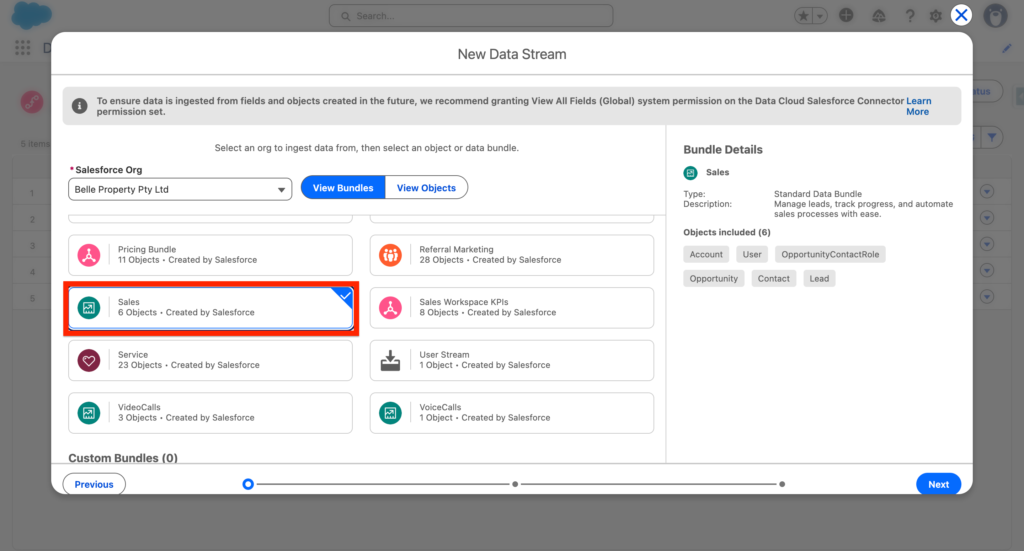
From there we will be selecting the Sales Bundle that contains the following Salesforce objects:
- Account
- User
- OpportunityContactRole
- Opportunity
- Contact
- Lead
—
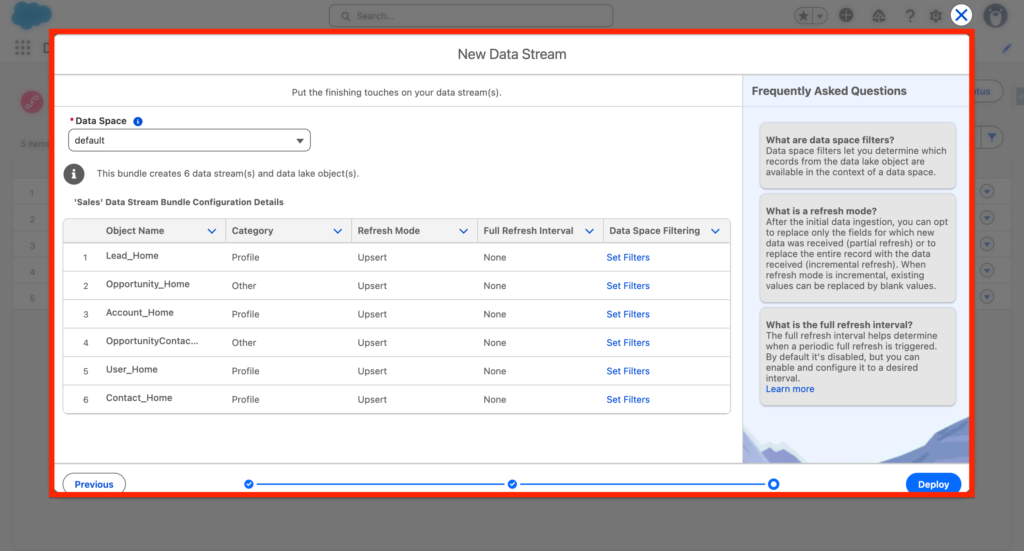
Next, you will next to review each objects and fields that will be ingested into Data 360. Please note that it will be the default fields so in my case I will just go ahead and validated. I can still come back to it in the future and add the custom fields into my Data Streams.

On the last screen you will have the possibility to confirm that Data Streams that will be created, if you are happy with it click Deploy.
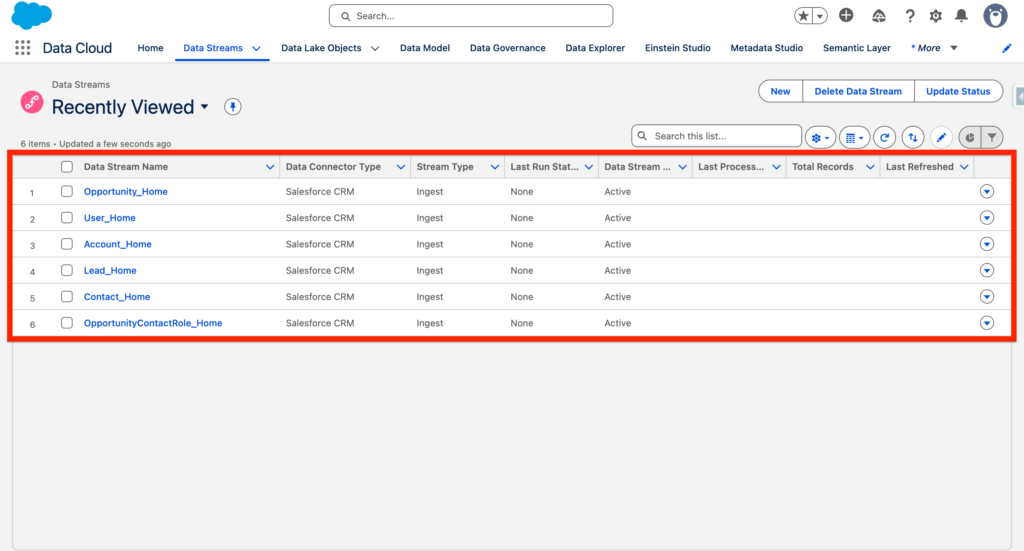
Once deployed the Data Streams will be visible in Data 360.
Configuring the Identity Resolution #
We will now set-up a basic Identity resolution. An Identity resolution is a feature allowing you to retrieve individuals across your different data sources that belong to one same person. We can that one same person is what we call a unified individual. The unified individual is populated thanks to the identity resolution.
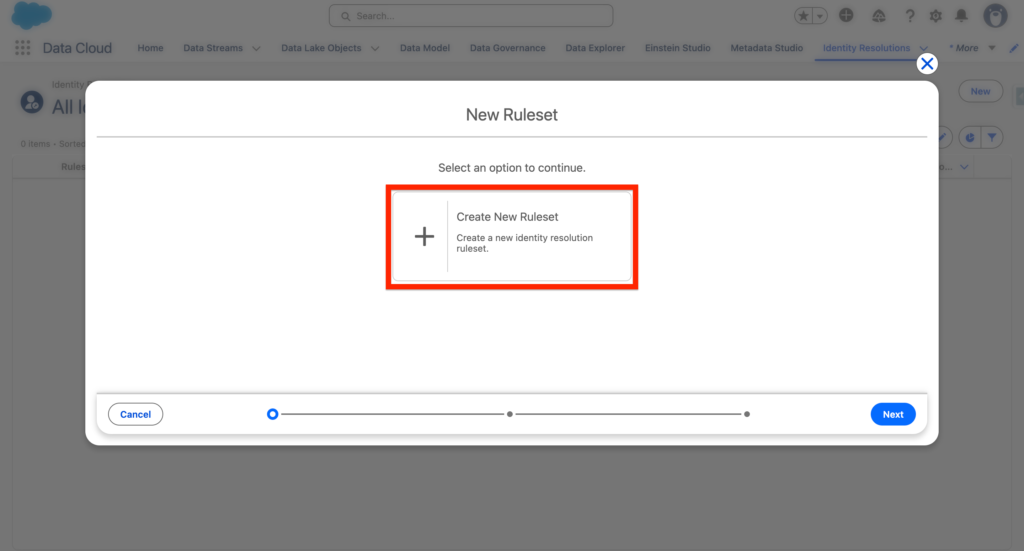
The very first step is that in Data 360 (Data Cloud), navigate to the Identity resolution and click new.

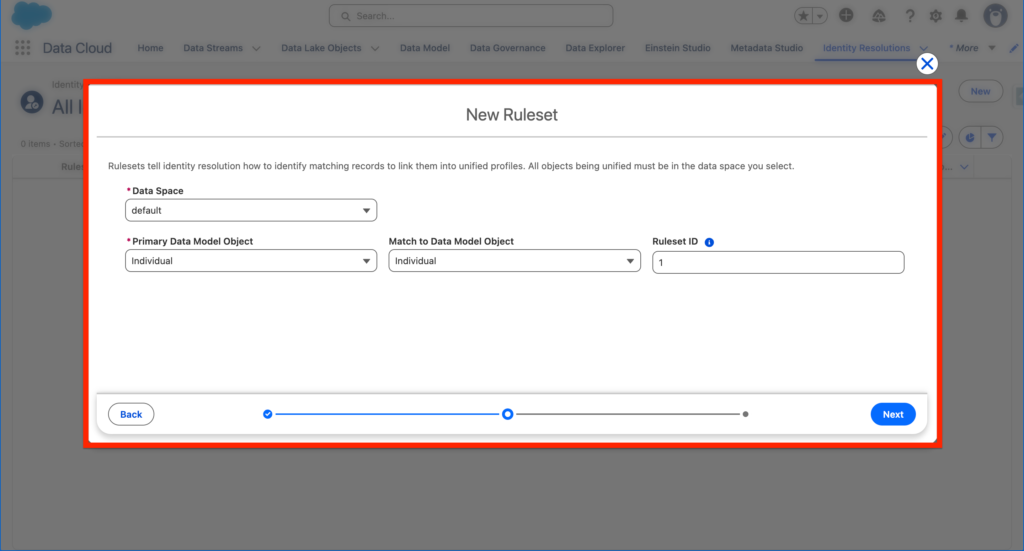
From there select, create new ruleset. and click Next.
You have the possibility to build identity resolution based on different Data Model Objects (that are populated from the Data Streams). In this scenario, we will select the Individual Data Model object, and we will need to provide an identifier, I will simply select 1.
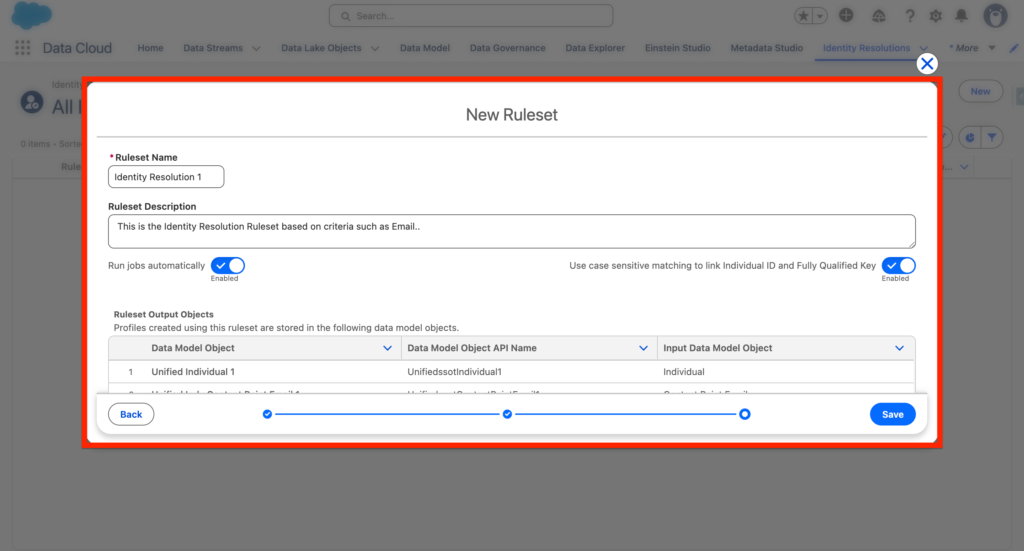
We will provide some information about the Ruleset such as a Name and a Description and click Save. As you can see the option Run jobs automatically is enabled as we want the Identity resolution to be updated on an ongoing schedule.
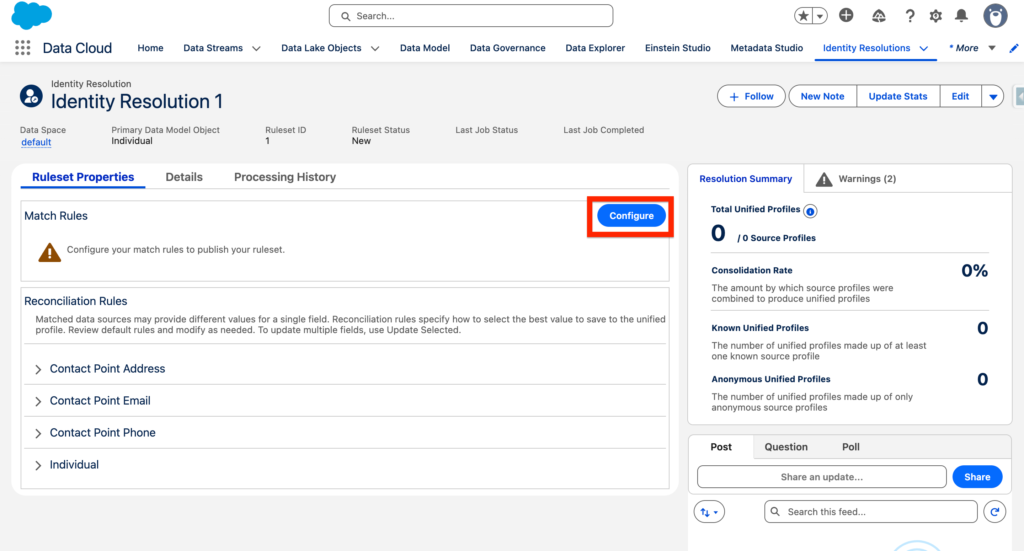
Now you can click Configure I order to define the parameters that will be used for matching purposes.
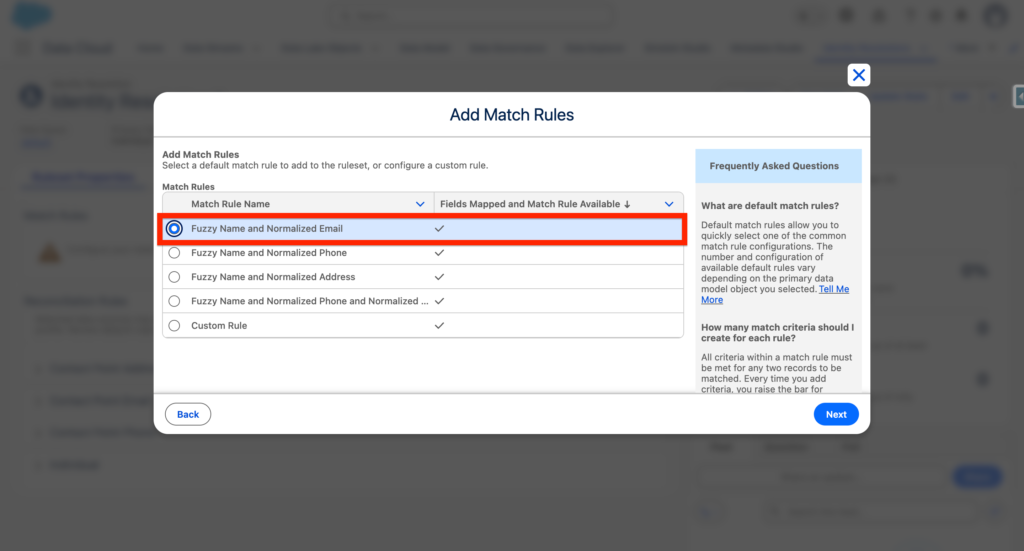
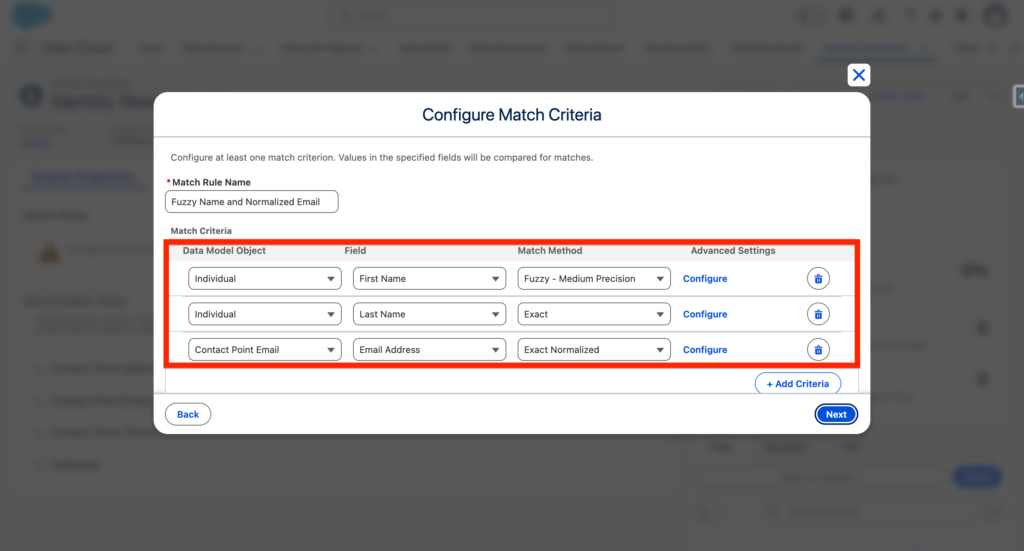
As we want to set-up a very basic and straightforward identity resolution we will be selecting the Matching Rule: Fuzzy Name and Normalized Email – and click Next.
We can now see in details how the matching will operate by Data Model Objects, Fields and Matching Method. As we are satisfied with that we will simply click Next and Save.
After saving your Identity resolution rulesets you will be able to visualise information such as:
- Consolidation Rate: The amount by which source profiles were combined to produce unified profiles
- Known Unified Profiles: The number of unified profiles made up of at least one known source profile
- Anonymous Unified Profiles: The number of unified profiles made up of only anonymous source profiles