This guide walks through connecting a WordPress site to Salesforce Data Cloud (Data 360) using the native WordPress connector. In under 10 minutes, you’ll set up an integration user, establish the connection via Basic Auth, and configure daily batch ingestion of your WordPress content — including posts, pages, media, and tags — into Data Cloud for unification and activation.
TLDR:
- Create a WordPress admin user called
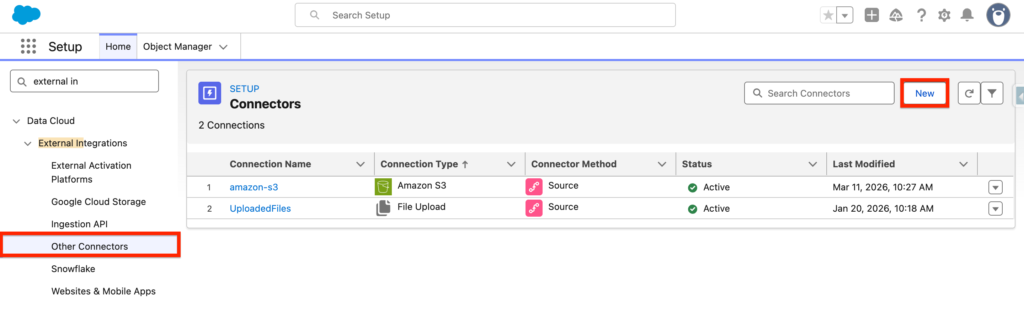
data360-connector - In Data Cloud Setup → Other Connectors → New → select WordPress → Basic Auth → enter username, password, site URL → Test → Save
- Go to Data Cloud App → Data Streams → New → select the WordPress connector → Batch mode
- Select objects to ingest: Categories, Docs, Media, Pages, Posts, Tags
- For each object: set Category = Other, Primary Key = Id, Data Model Object = Other, select all fields
- Set schedule to Daily → Deploy
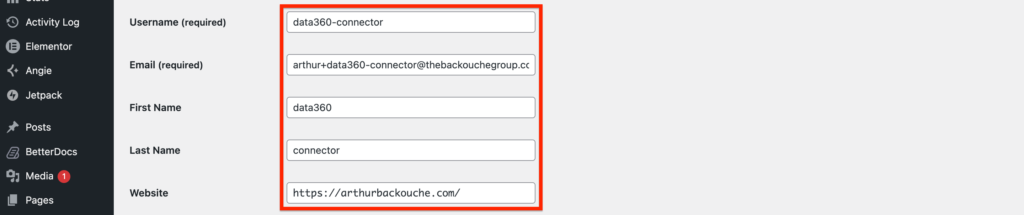
Create the WordPress Integration User #
In your WordPress Website, create an integration user named data360-connector. Ensure this integration user is set as an Administrator.
Creating the WordPress Connector #
In Data 360 Set-up, navigate to Other Connectors and click New
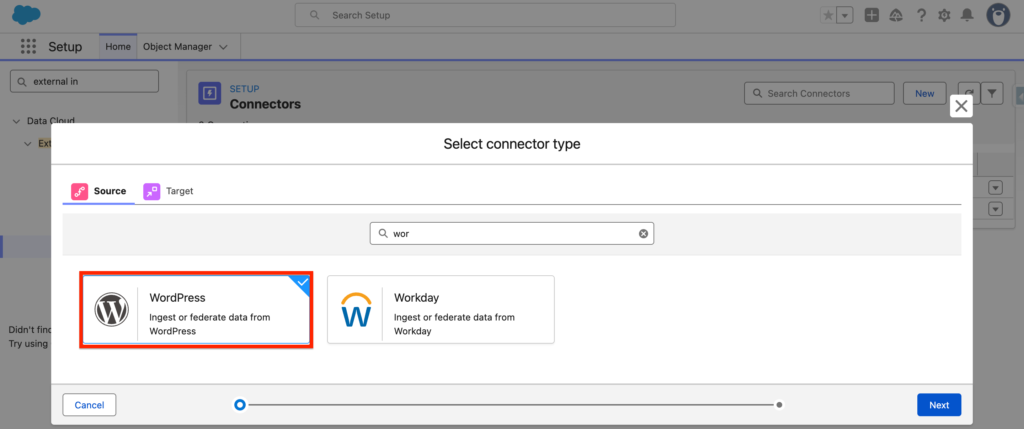
Select WordPress and click Next.
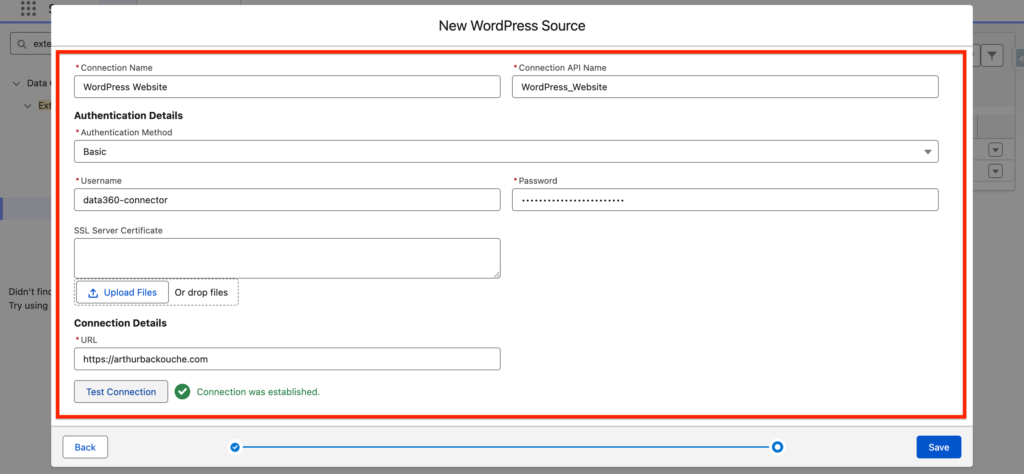
On the next page select the Basic Authentication Method and insert the information about your WordPress Integration user (Username, Password) as well as the URL of your website. Test the Connection and Click Save.
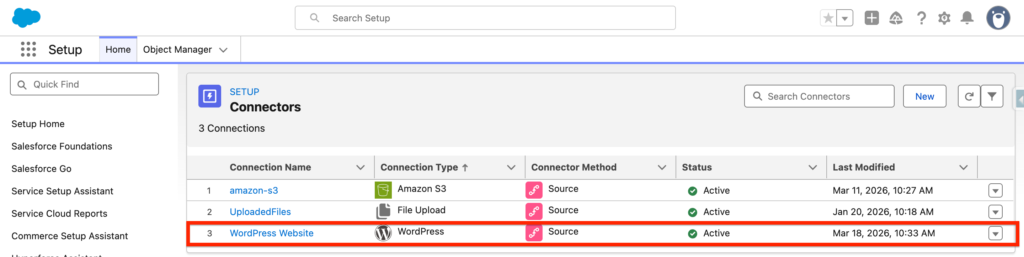
Once the connection with the WordPress Website is established, you should be able to visualise the WordPress connector with an Active Status.
Creating the WordPress Data Stream #
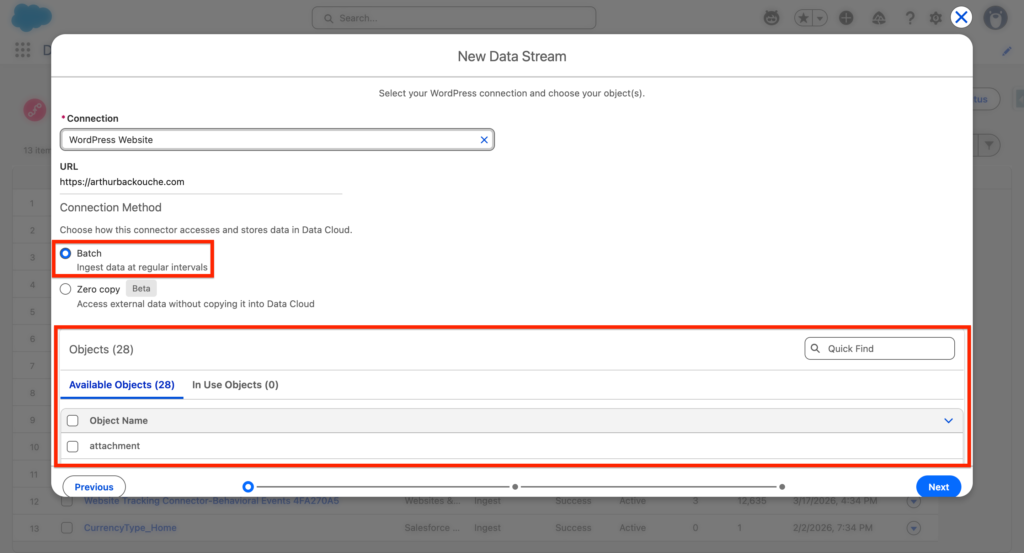
Navigate into the Data 360 App and within the Data Streams tab click New. You should now be able to select the WordPress Connector.

We will now select the batch mode of Data Ingestion – we will ingest the Data on a scheduled basis – we will also select the following WordPress Objects to ingest into Data 360 including:
- Categories
- docs
- Media
- Pages
- Posts
- Tags
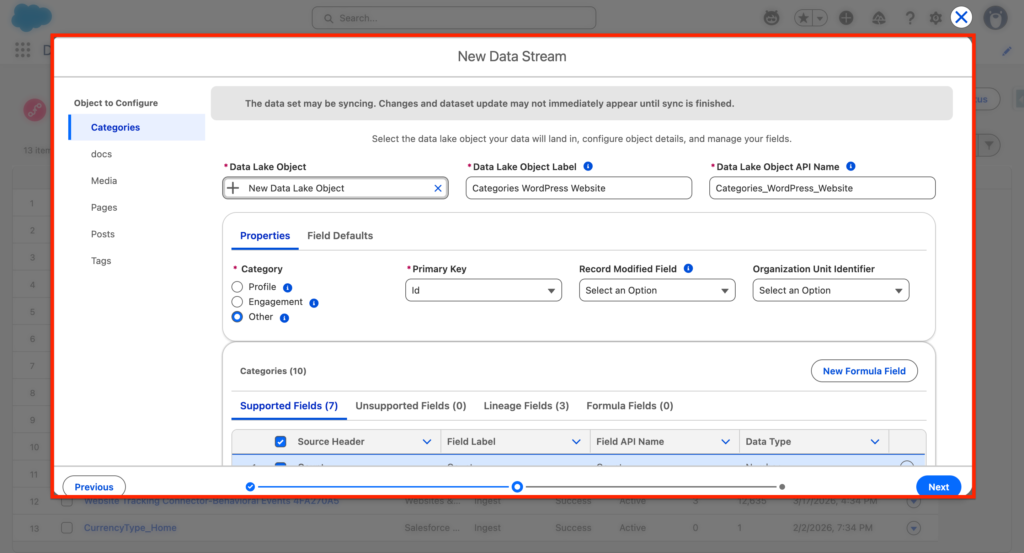
For each objects, I will determine their Category: Other as well as their Primary Key: Id. I will also define their Category of Data Model Object: Other And select All the the attribute fields that needs to be ingested. Then click Next.
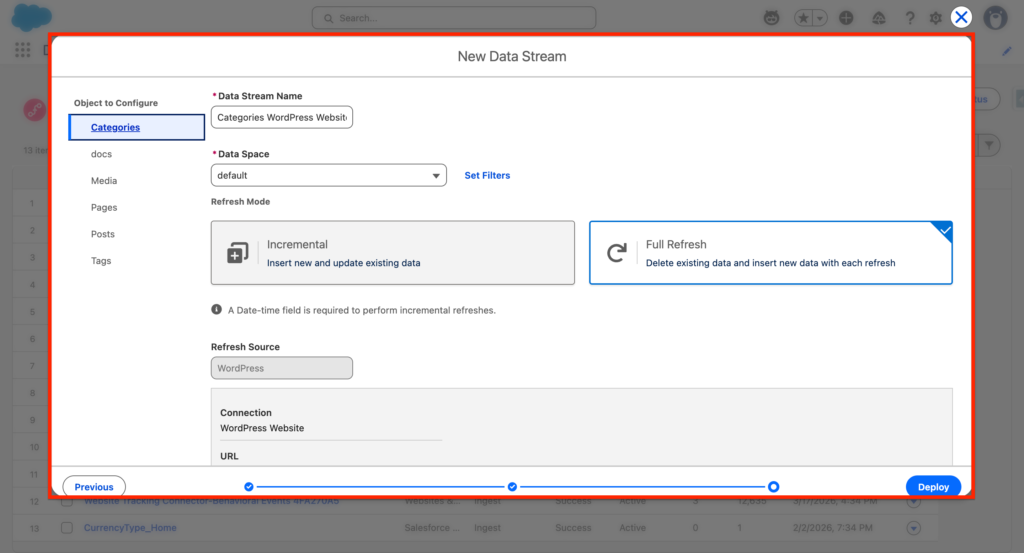
Next, we will need to set the schedule frequency for each WordPress Objects ingested into Data 360 – I’ve selected daily and clicked Deploy.
After deploying the WordPress Connector, you should see some Data Streams appearing as within the screenshot below:

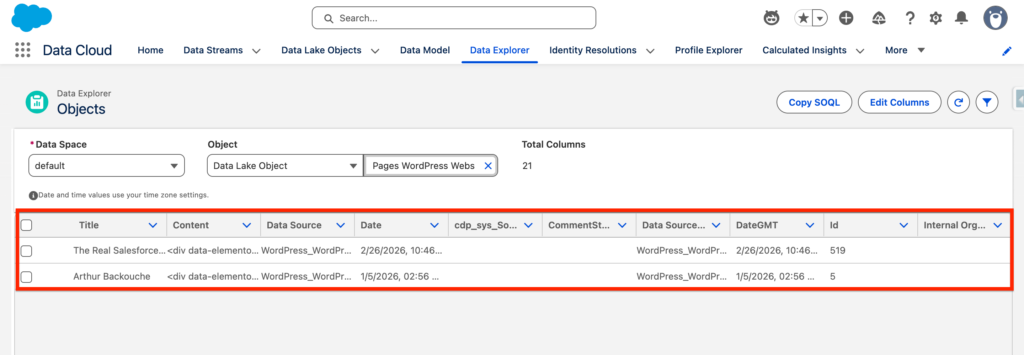
Previewing the Data from WordPress #
Navigate to Data Explorer and select a the WordPress Data Lake Object you would like to explore. In my case, I’ve selected the WordPress Pages.