Purpose: Setting-up a Custom Tracking Domain in Marketing Cloud Next allows you to improve email deliverability, build recipient trust by showing recognisable links, protect against blacklisting, and give full control over analytics and link management; all while keeping your brand professional and consistent.
In this article we will explore how to configure the tracking domain in Marketing Cloud Next so that it is personalised based on your brand.
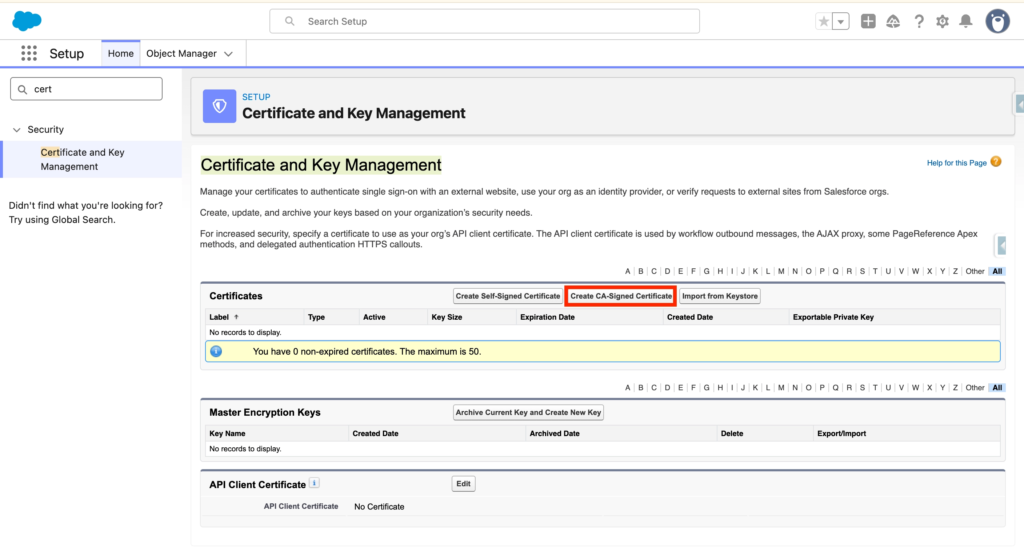
Create the Certificate #
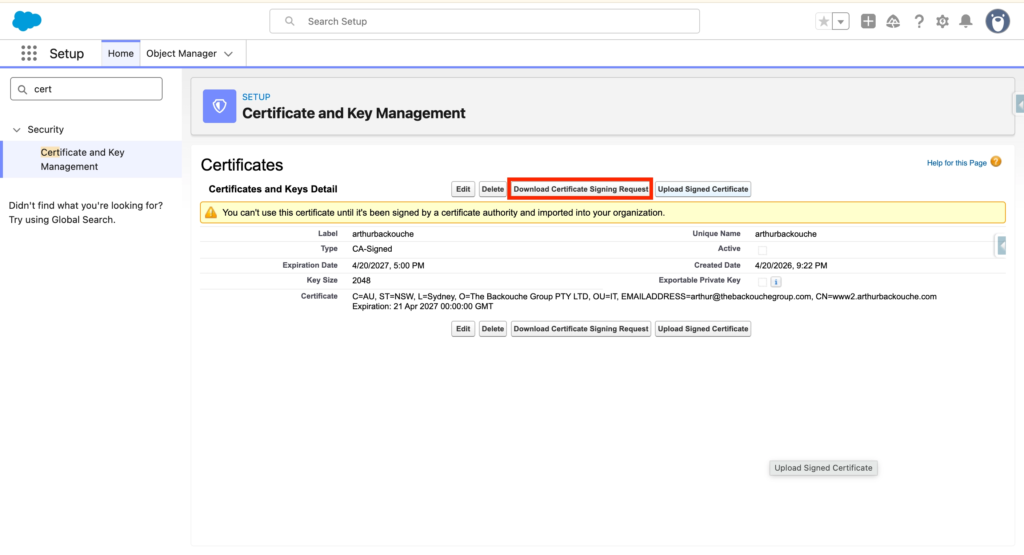
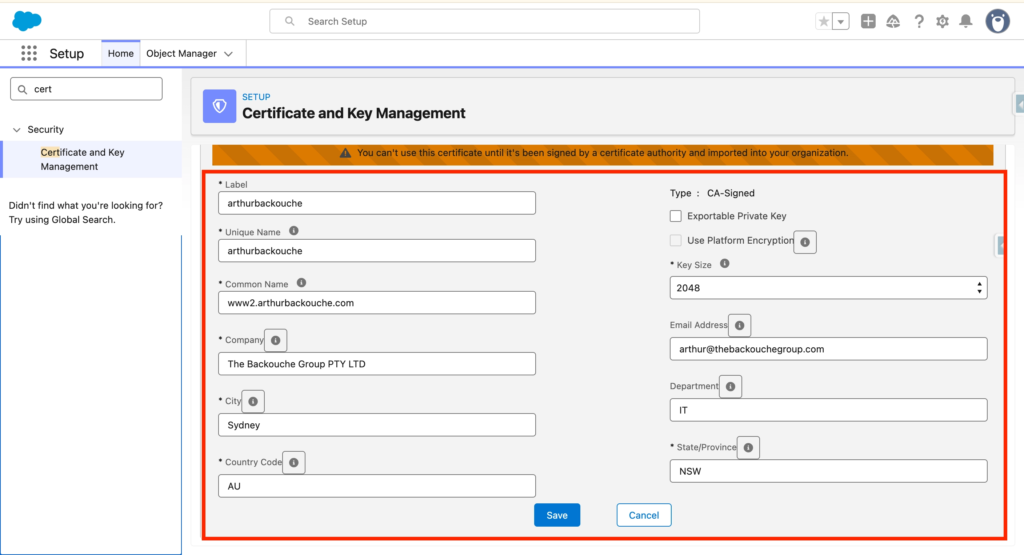
In Salesforce Set-up, navigate to Certificate and Key Management and click “Create CA-Signed Certificate”.
In our case we have added the the following information:
- Label: arthurbackouche
- Unique Name: arthurbackouche
- Common Name: www2.arthurbackouche.com
- Company: The Backouche Group PTY LTD
- City: Sydney
- Country Code: AU
- Key Size: 2048
- Email Address: [email protected]
- Department: IT
- State/Province: NSW
Click Save, you can now click Download Certificate Signing Request. A .csr file will be generated.
The Download Certificate Signing Request will look like this:
-----BEGIN CERTIFICATE REQUEST-----
MIIDGTCCAgECAQAwgZ4xIDAeBgNVBAMMF3d3dzIuZG92ZXRhaWxsYXcuY29tLmF1
MSswKQYJKoZIhvcNAQkBFhxhcnRodXJAdGhlYmFja291Y2hlZ3JvdXAuY29tMQsw
CQYDVQQLDAJJVDEUMBIGA1UECgwLZG92ZXRhaWxsYXcxDzANBgNVBAcMBlN5ZG5l
eTEMMAoGA1UECAwDTlNXMQswCQYDVQQGEwJBVTCCASIwDQYJKoZIhvcNAQEBBQAD
ggEPADCCAQoCggEBAL3EJOcgqpOTFi1QV2Wm8TlMRN6X82D0idMd4gZU+WybVKEk
j0qo9+Jl1Dj7cnR3ru9TDgLw0KCjOXJYNARNfh0Ha9g3xTeZuxxzxygcLqePIHxT
J5p+K0MfN6tWj6WtBe4OJvEGPTLQUS4D4LTNtI5EufvdTFio9SQan0x6Pj04xmGi
CWUWaDvtpD3xXUrm55AeN1YfYloHau6Uklfv6pkvSgY2mHTy0na7nUPe5KK8/Fjc
qrQY4G3+wZySaceMTgR+0xOWH6XqMVIcJW3HJx049U/+4L/S9sQ4aXXc5fXXi9cm
KBr0Lc9WU6YQmV6Kr4oTCUgCw7RsfenE2dzGAEUCAwEAAaA1MDMGCSqGSIb3DQEJ
DjEmMCQwIgYDVR0RBBswGYIXd3d3Mi5kb3ZldGFpbGxhdy5jb20uYXUwDQYJKoZI
hvcNAQELBQADggEBAAtVlE1xLXXaUhF2h32J/PQ/zED2tTlx8pFtFipBi2IsdTWC
t2s4/b5WYQ0HJ9jmTkfFbrO+rhH1SZ3+doP48Ye1NmKzNVng/Hkx+7Dp8OezriZt
FgcPAyigzh/6f5Smb0pM8/hV0h1iL3QdDB5HYdEMvGotccJhkJTRHpOmB0mDMjbs
59wOh5fiPIgT2l5h14YaZ8iJkDDtAu7uRtTYjnDFTeeYsaOmOcMgceGOhKkntfx8
AWHZI9pKsOq5dKvGmEDpyK4nZC+oprHFuifThvKrZseeDqpJ6DzkkKYJea/vKxTE
D5wvbNqHuP4v4qo2nCMccv6VV8DydK69jCYOV1c=
-----END CERTIFICATE REQUEST-----
Use ZeroSSL to Validate the Certificate #
The next step is to use the website ZeroSSL to get the free 90 days SSL certificate. Create an Account in ZeroSSL and follow the process to obtain the Certificate:
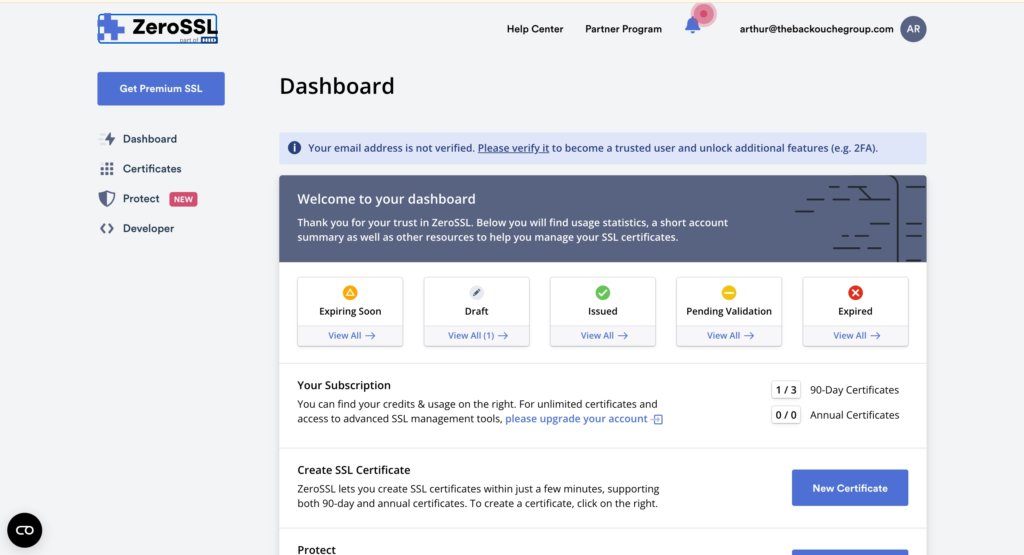
Go throughout the process of validating the custom tracking domain with an SSL certificate using ZeroSSL. You will need to update your DNS Records with the information provided from ZeroSSL. Once the process is completed you will have the possibility to download a file (Key) and then you can upload it back in Salesforce Certificate and Key Management.
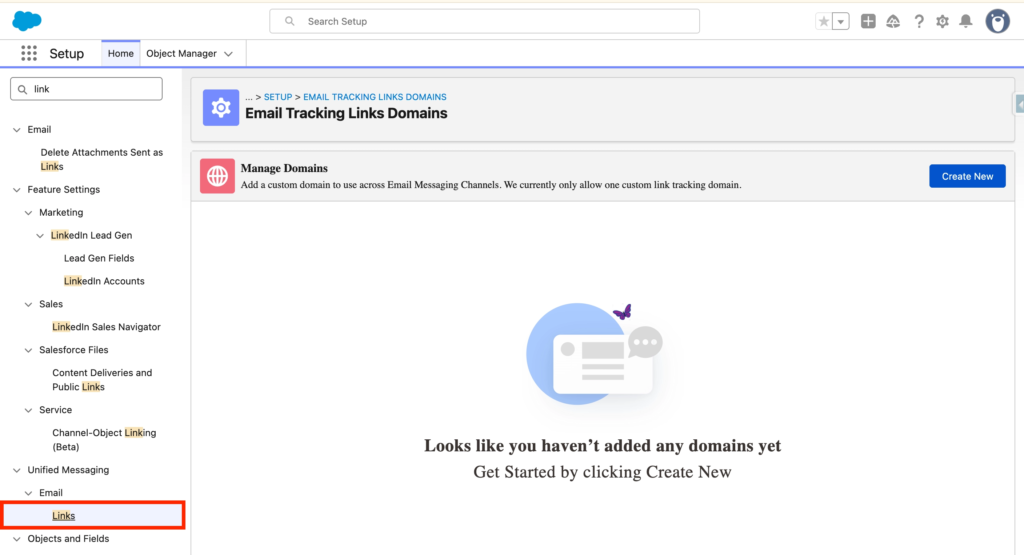
In Salesforce Set-up, navigate to Links and click Create New. You can now Select your Custom Tracking Domain and Activate it. From now on, Links populated from your Email Communications will be personalised with your custom domain.